
4. Issuing cards
Every customer gets their own card made from a template. Choose the way that fits:
| Way | Best for |
|---|---|
| Join link and QR code | Customers sign up themselves: at the counter, on your website, on Instagram. |
| One by one | A single customer, right now. |
| From a CSV file | Moving your existing members over. |
| Your website | Your own sign-up and account pages (with your developer). |
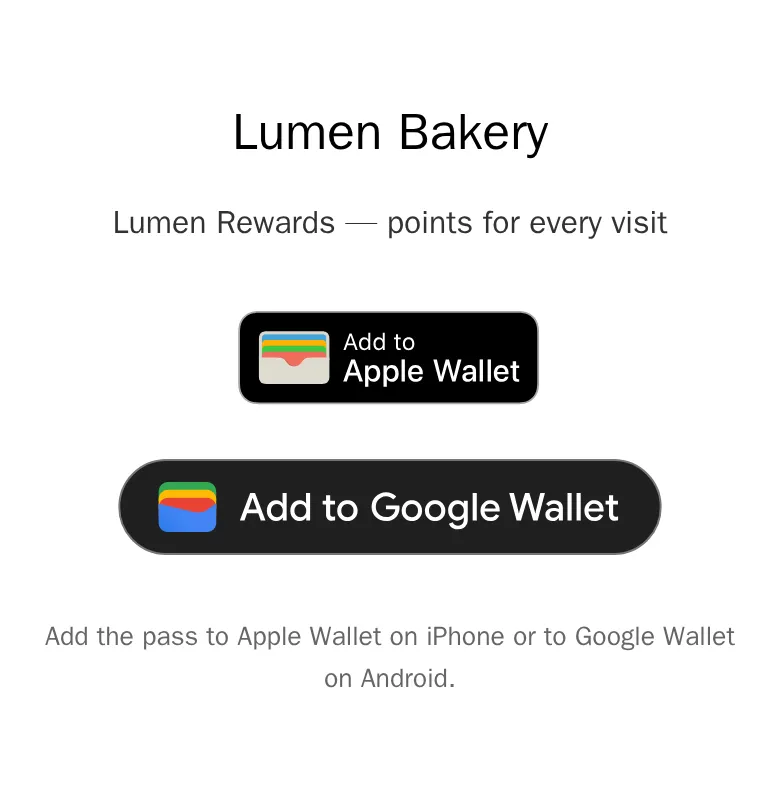
However a card is issued, the customer gets a link to the card page. There they tap Add to Apple Wallet or Add to Google Wallet — the button for their phone comes first.
Join link and QR code
Section titled “Join link and QR code”The easiest way to collect members: a public page where people get the card themselves. Print the QR code for your counter, put the link in your Instagram bio or a button on your website.
-
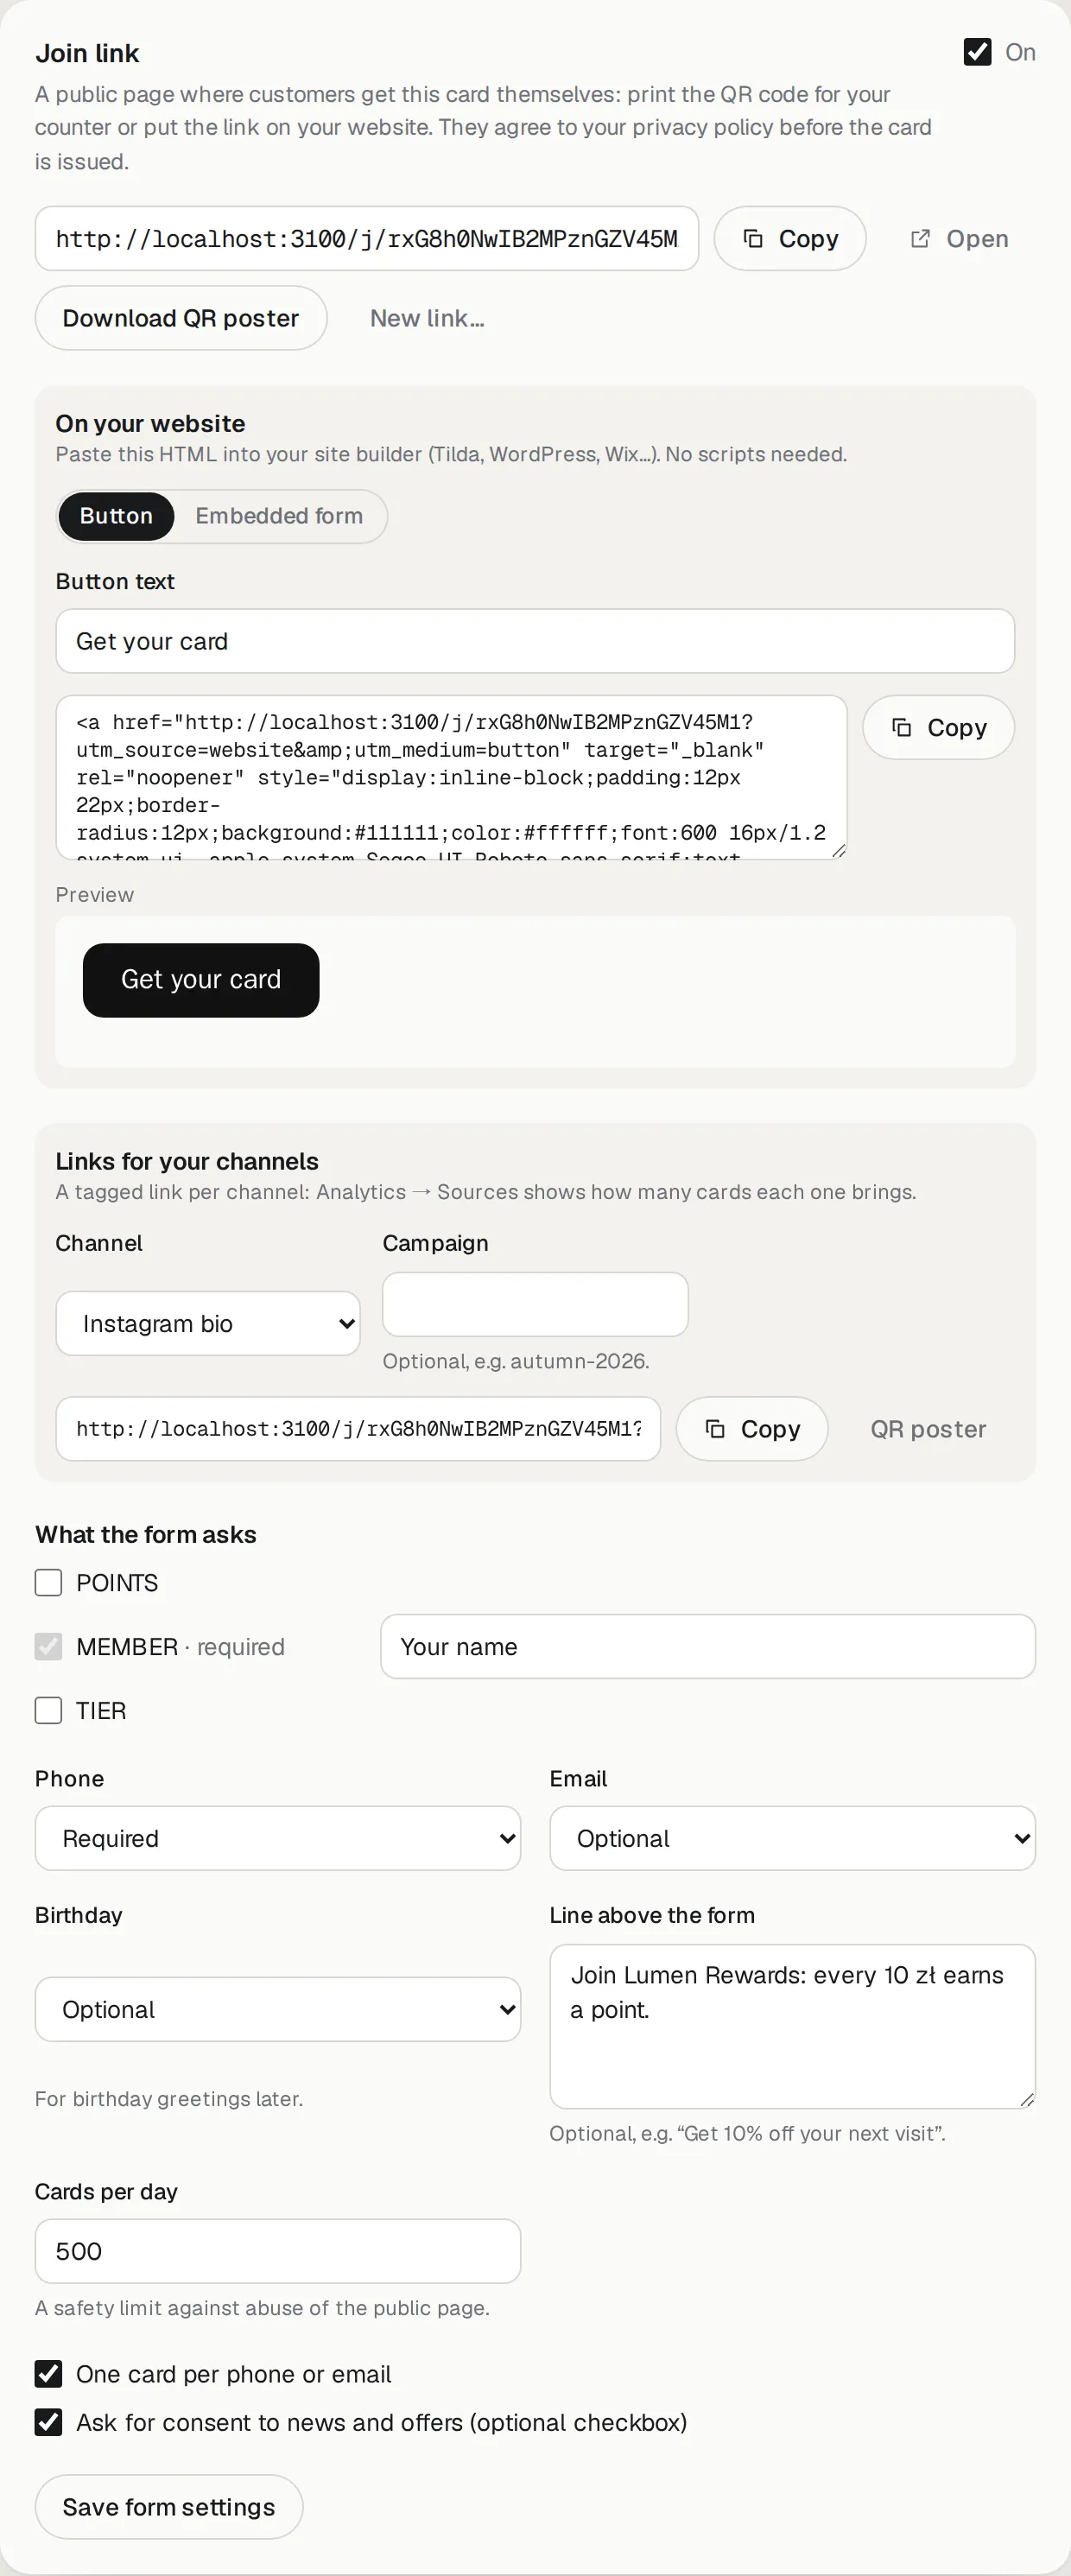
Open the template (Templates → your card) and scroll to Join link. Tick On.
-
Choose What the form asks: fields of the card (fields without a default are always asked), and whether Phone, Email and Birthday are required, optional or not asked. Phone or email lets WalletCraft recognise returning customers and, later, send them messages and birthday greetings.
-
Optional: a Line above the form (“Get 10% off your next visit”) and the Cards per day limit against abuse.
-
Keep One card per phone or email on, so nobody collects ten cards. Tick Ask for consent to news and offers to add an optional “Send me news and offers” checkbox.
-
Press Save form settings.
This is what customers see:
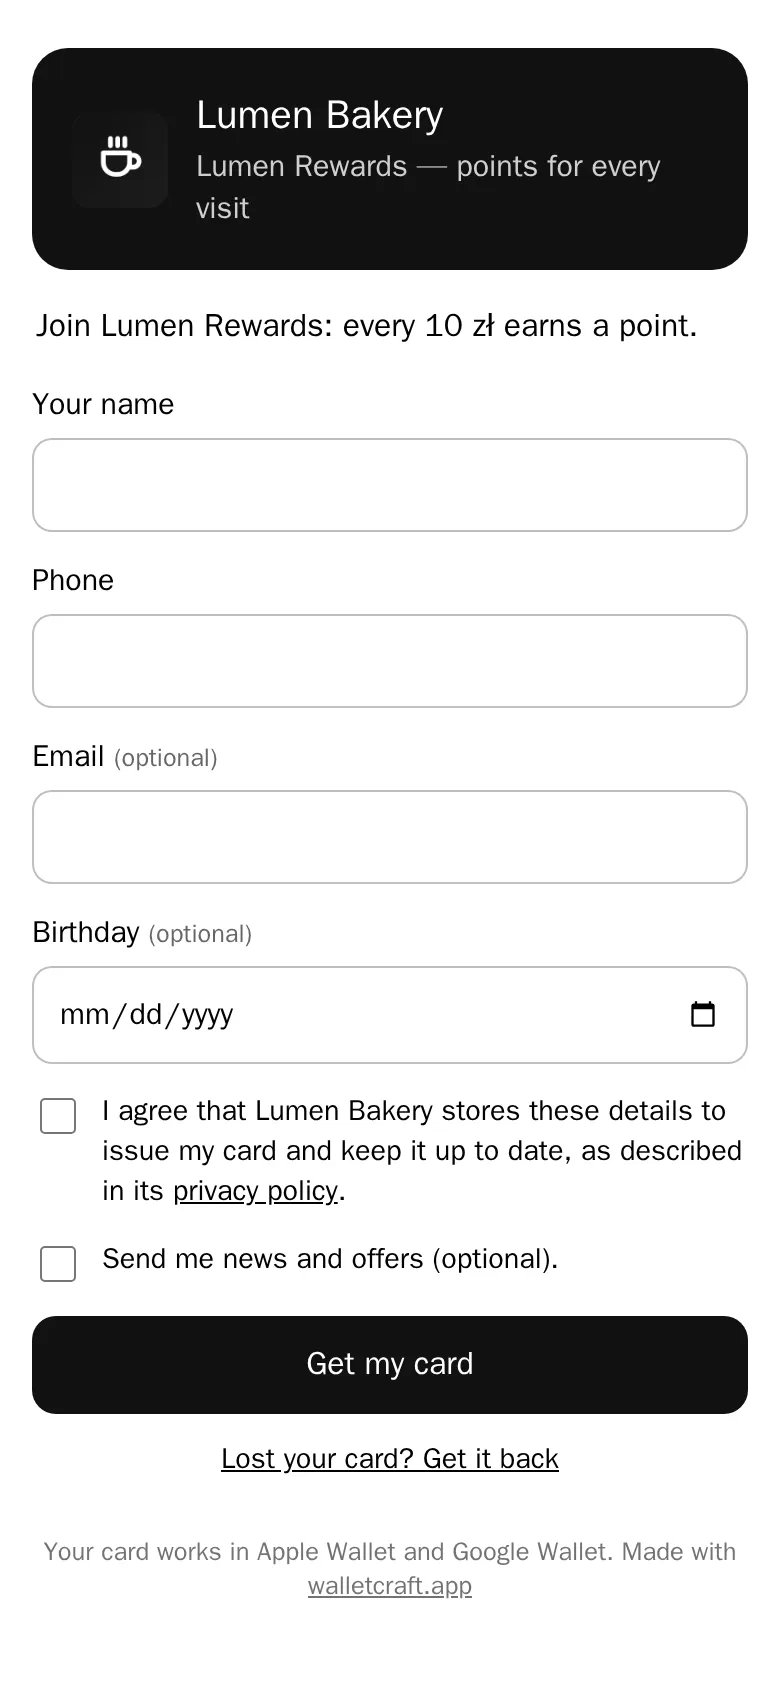
They fill it in, accept your privacy policy and land on the card page. If they already have a card, the form says so and offers Lost your card? Get it back (a one-time code to their phone or email).
Share it
Section titled “Share it”- Copy the link or Open it to try it yourself.
- Download QR poster — a printable page with the QR code for your counter, table or window.
- On your website — a ready Button or an Embedded form to paste into your site builder (Tilda, WordPress, Wix…). No code needed.
- Links for your channels — the same link tagged per channel (Instagram bio, newsletter, flyer…), with its own QR poster. Analytics → Sources then shows how many cards each channel brought.
- New link… replaces the link if it leaked somewhere unwanted — the old one stops working, so reprint posters.
One card at a time
Section titled “One card at a time”-
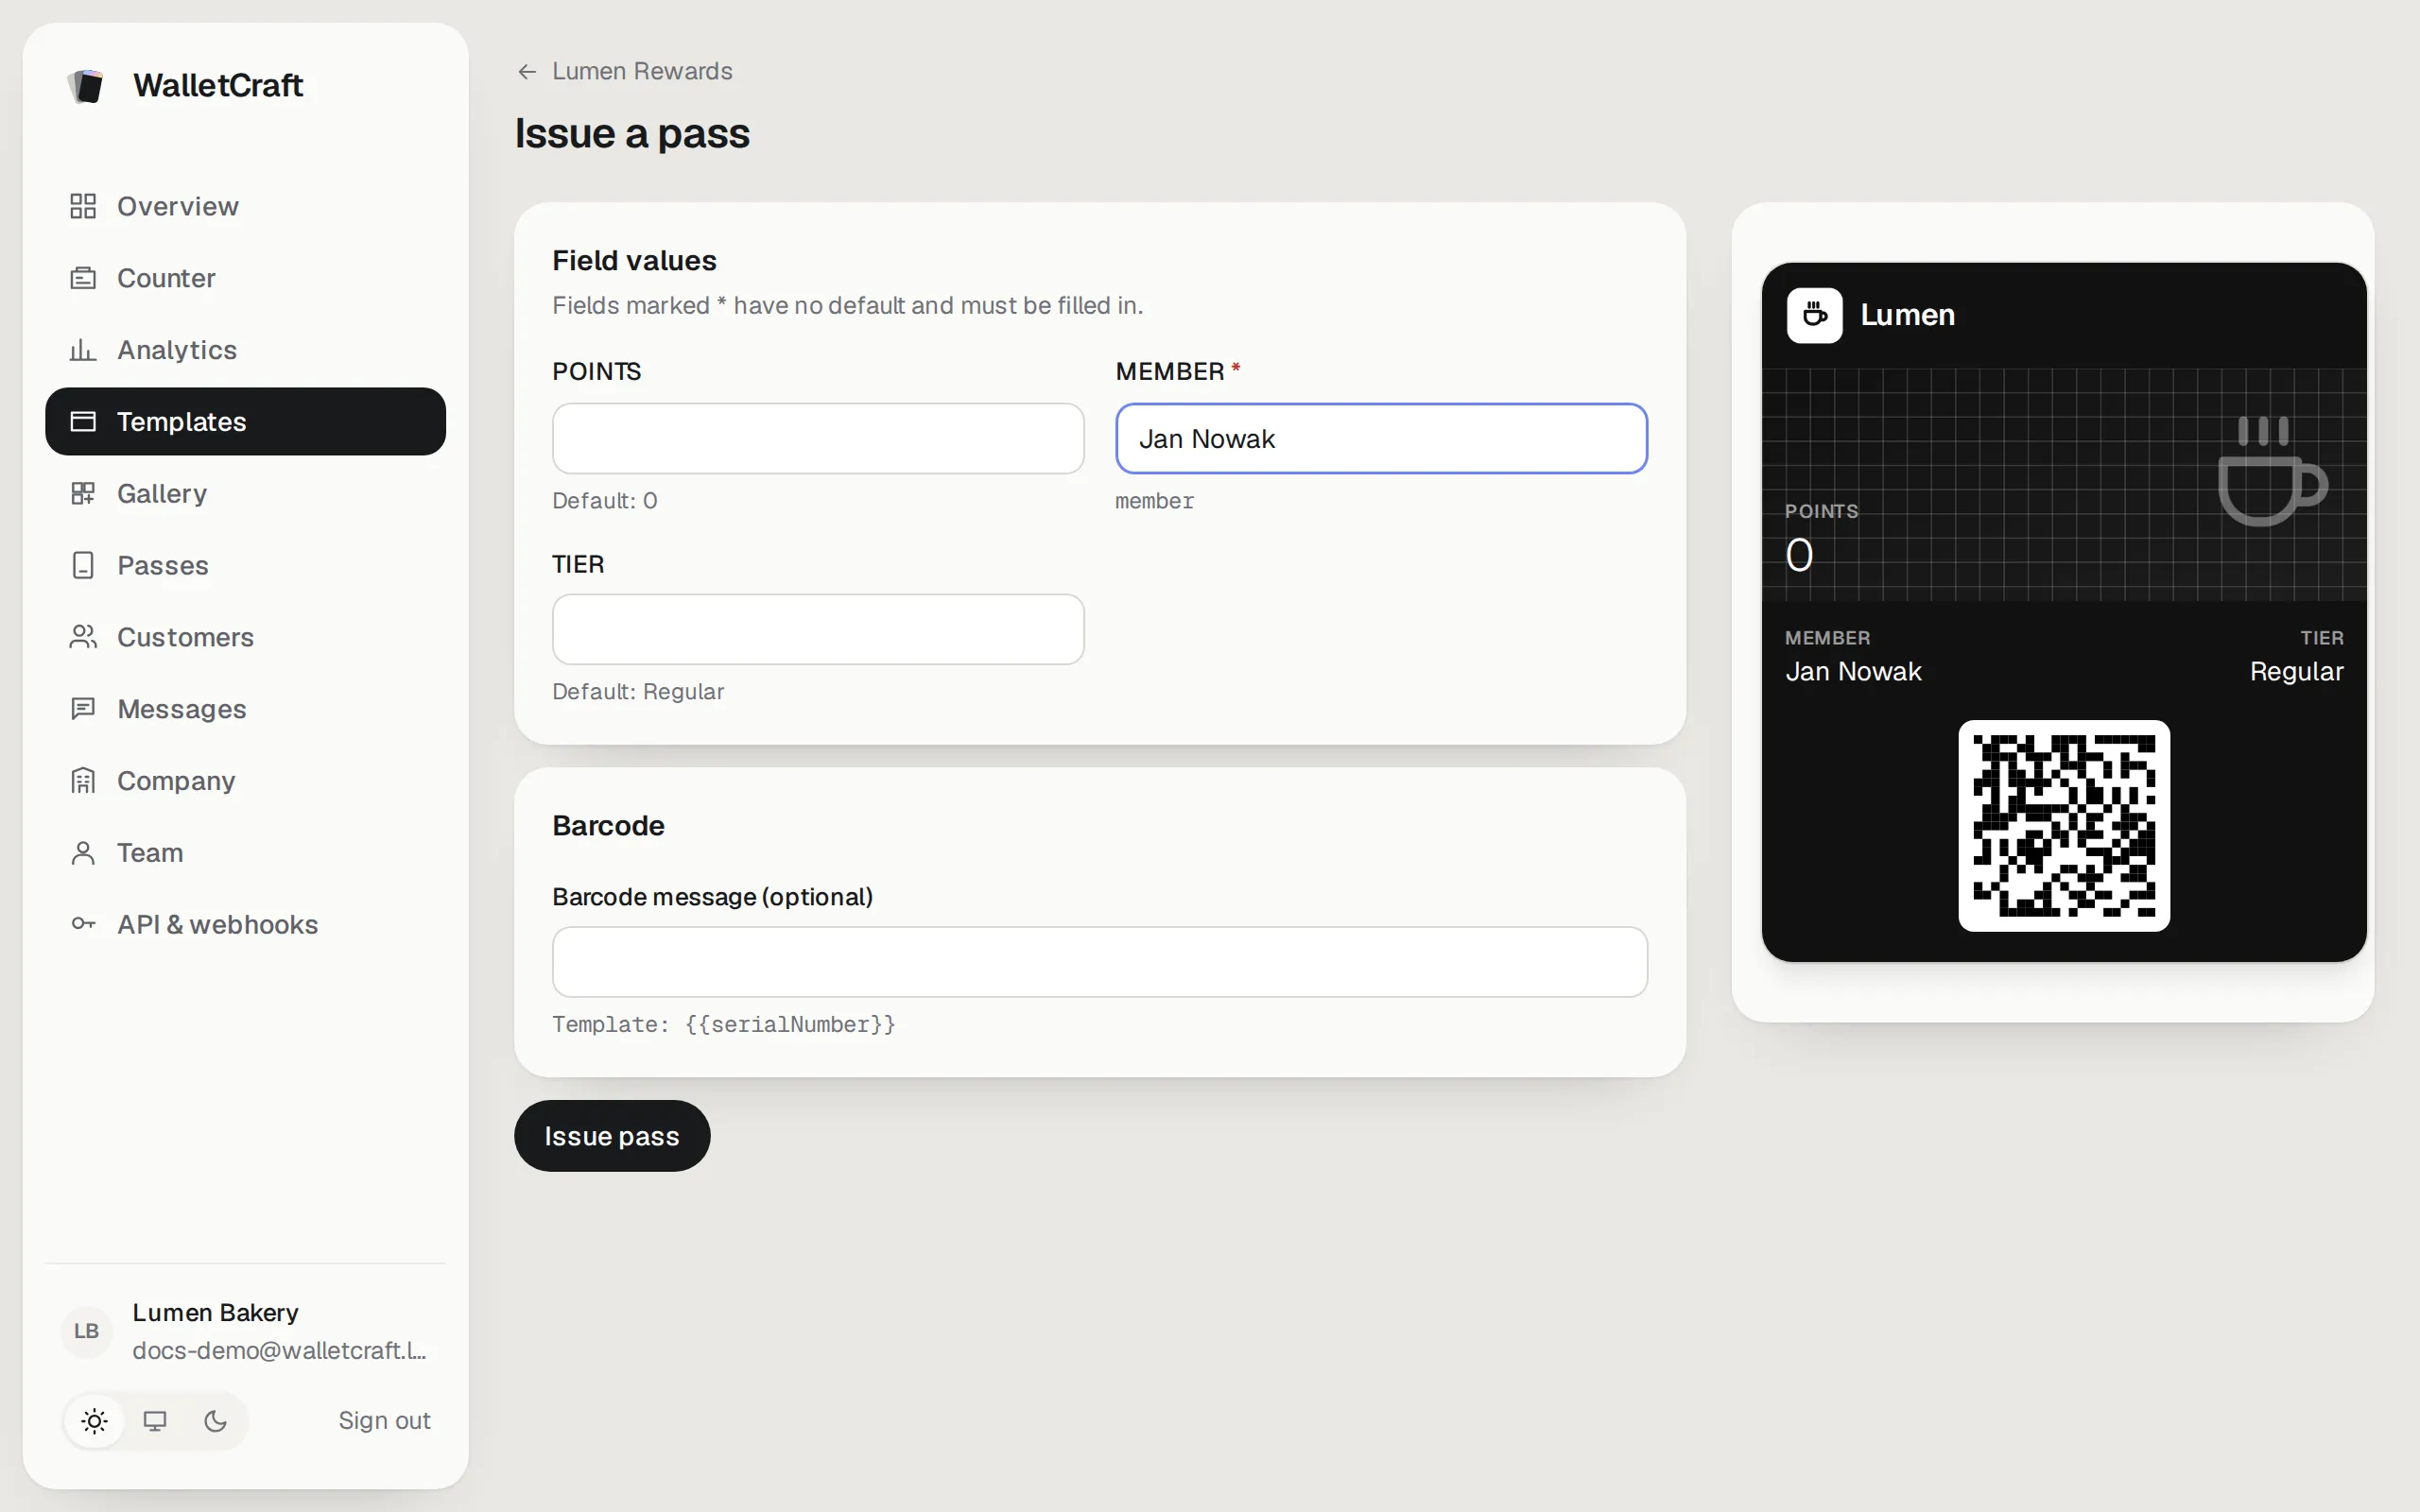
Press Issue passes on the Overview, or Issue a pass in the template editor.
-
Fill in the card’s fields (required ones are marked).
-
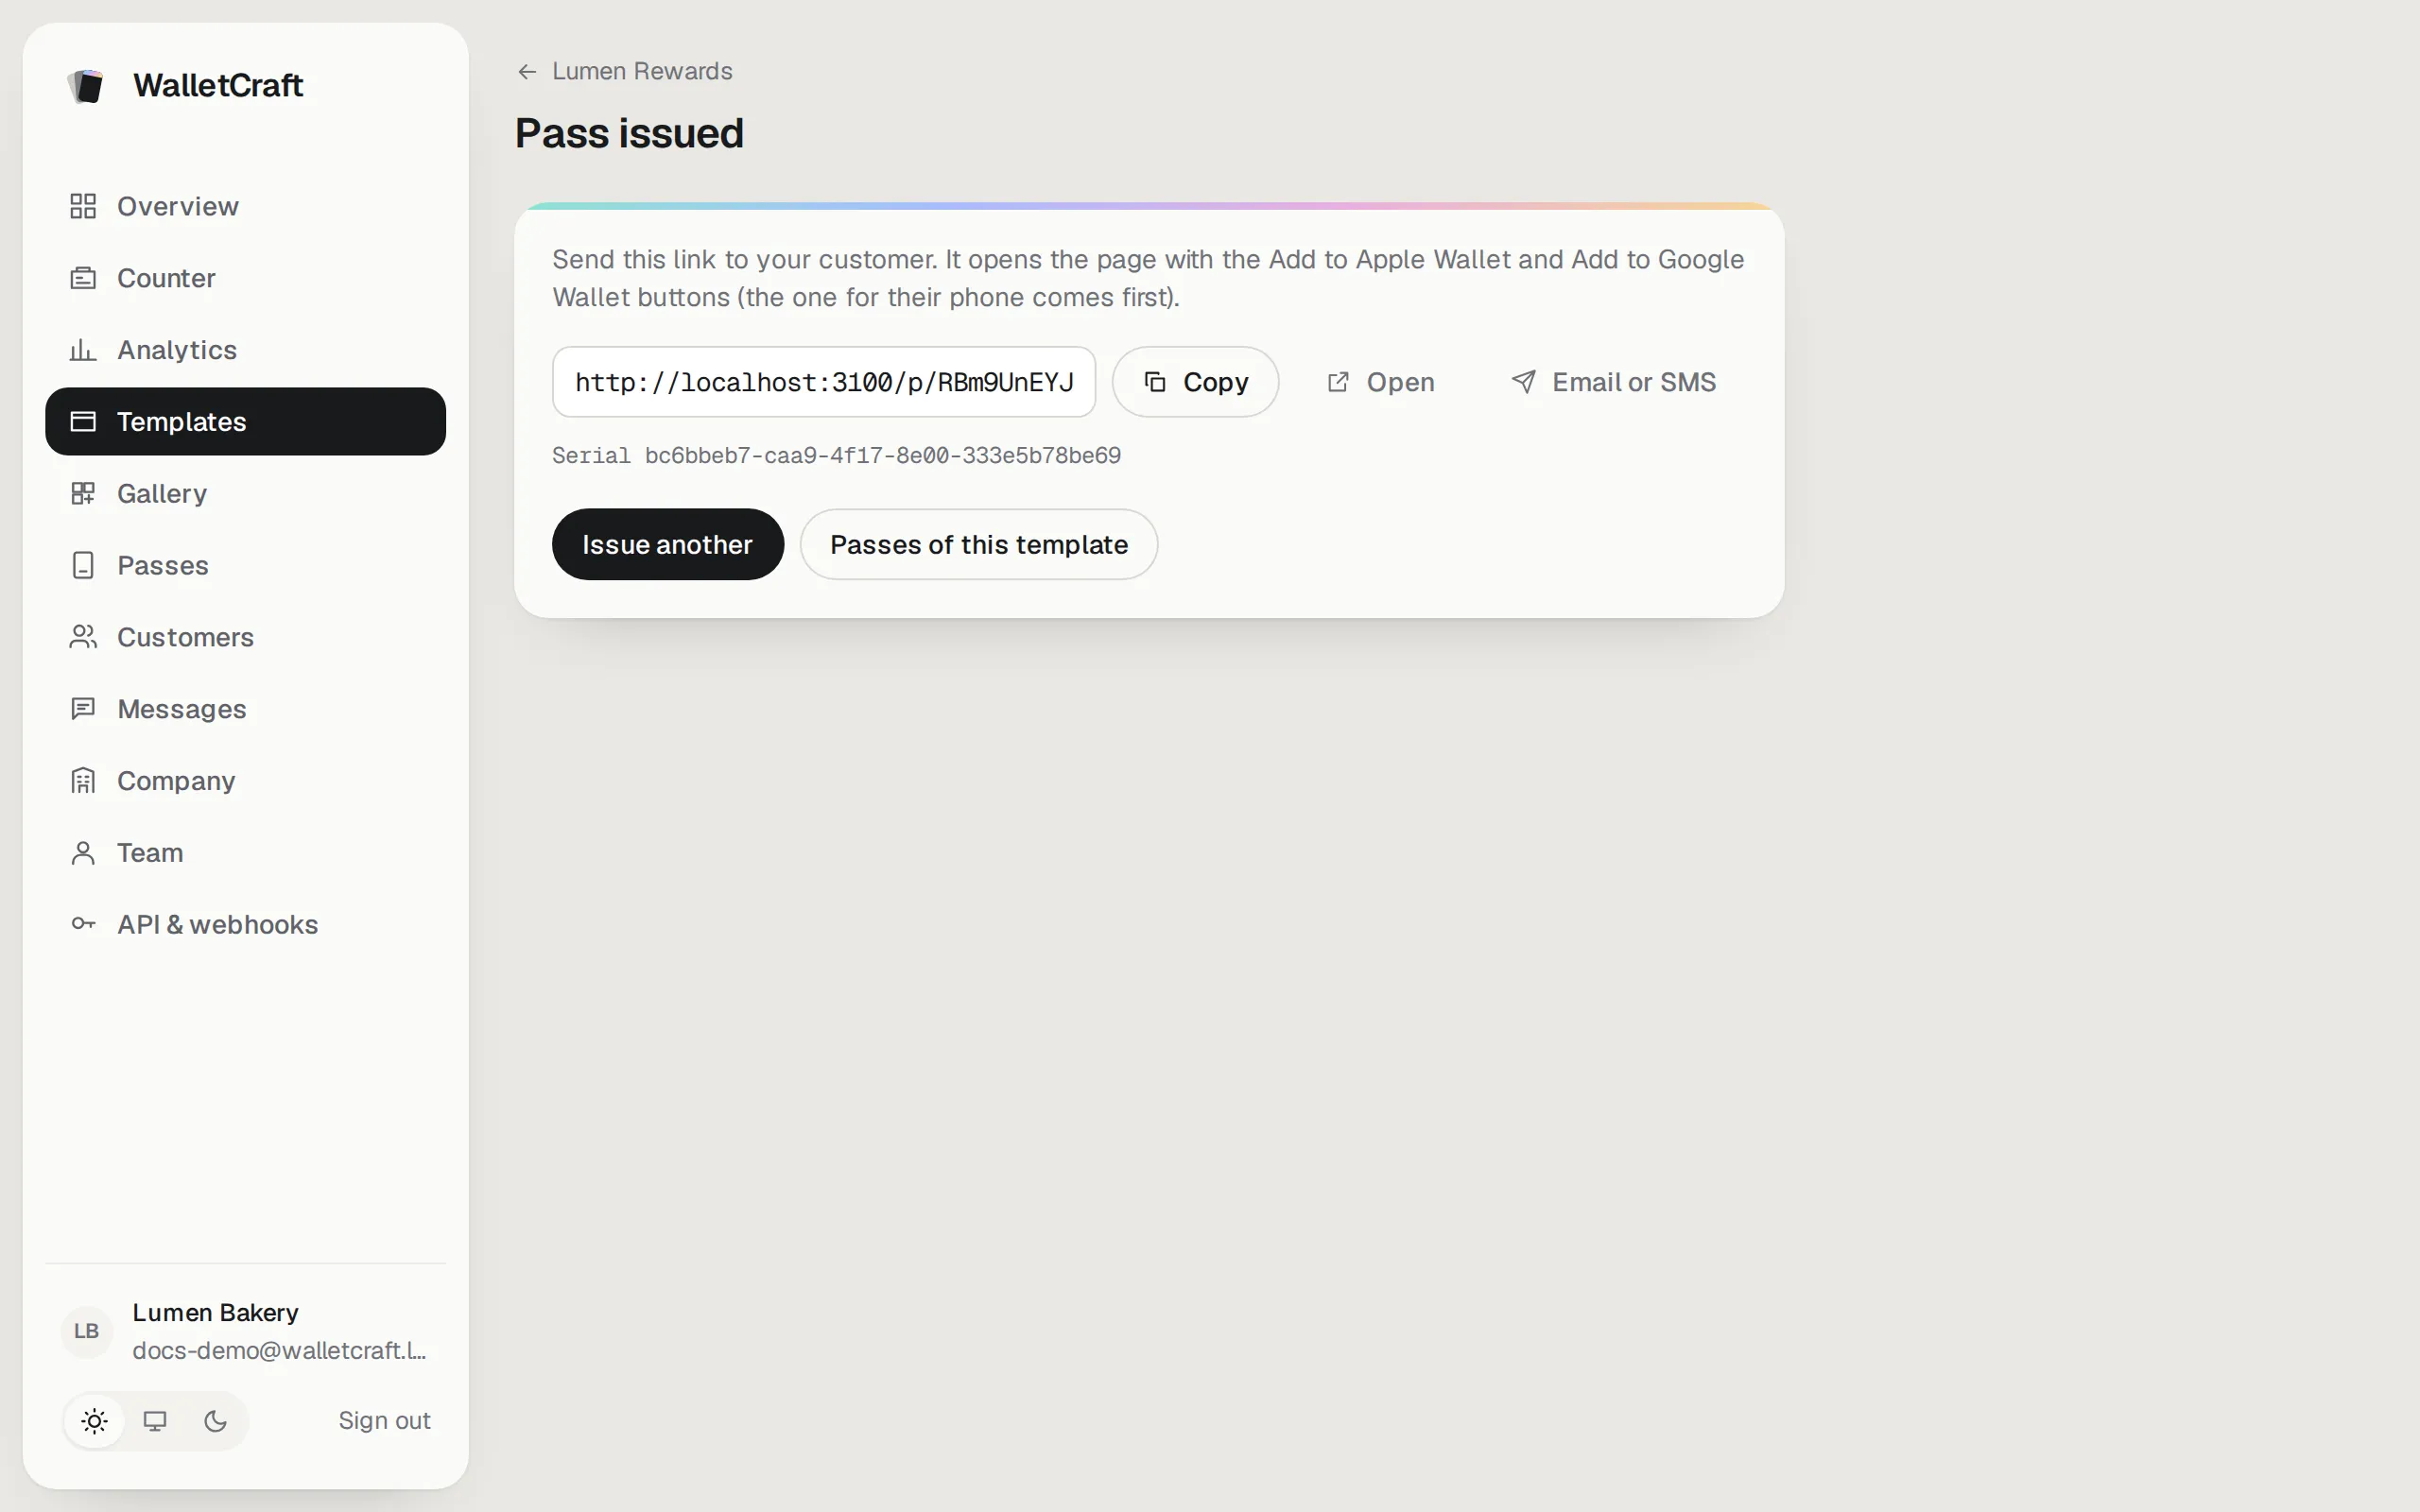
Press Issue pass. You get the card’s link:
-
Send the link to the customer: Copy it into a chat, show the page with Open, or press Email or SMS.
Many cards from a CSV file
Section titled “Many cards from a CSV file”For moving existing members over (up to 10,000 per file).
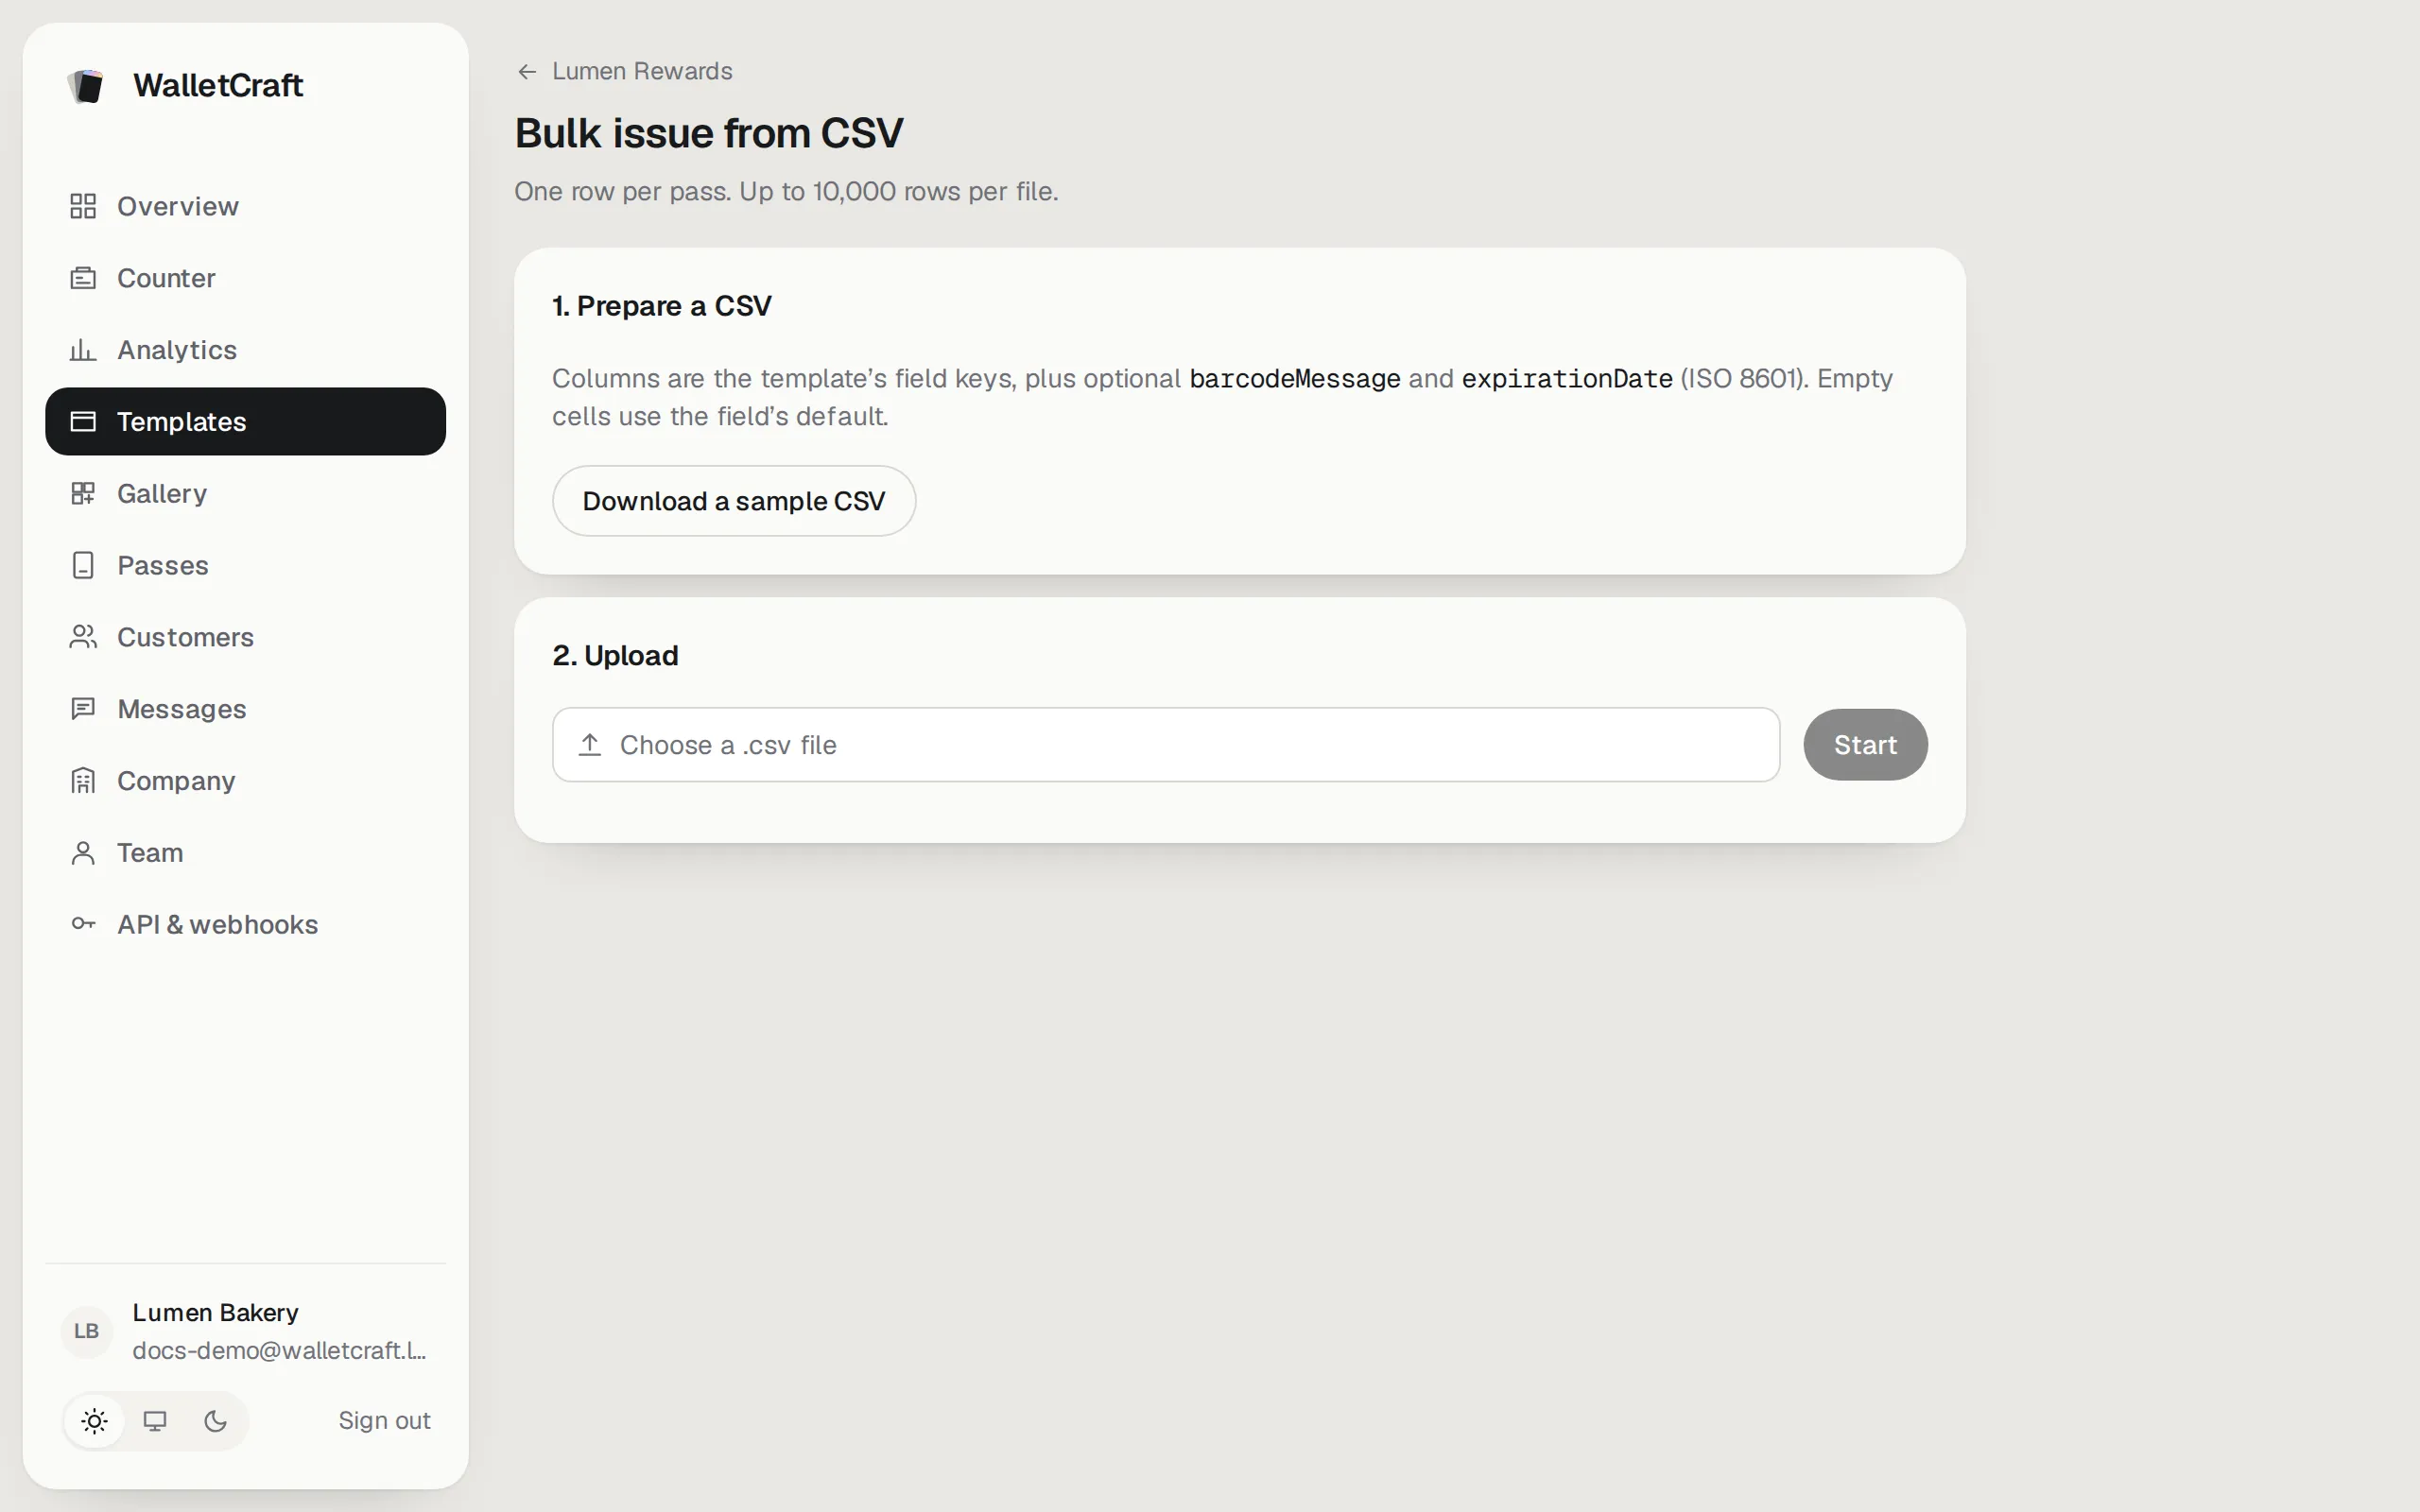
- In Templates, press Bulk CSV next to the card, then Download a sample CSV. Its columns are the template’s field keys; empty cells use the field’s default.
- Fill it in with a spreadsheet (one row per card) and save as CSV.
- Choose a .csv file and press Start. You can watch the progress.
- When it’s done, Download results gives a link per row — for example to mail them out.
Send the card by email or SMS
Section titled “Send the card by email or SMS”Wherever you see Send (the customer’s page, the list of passes) or Email or SMS (after issuing), WalletCraft sends the card’s link for you.
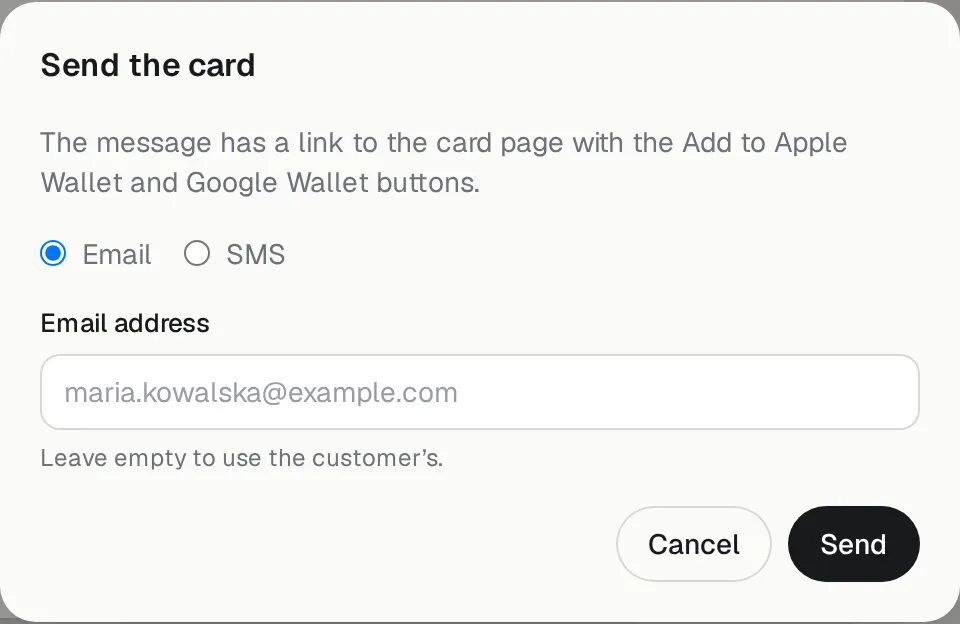
Choose Email or SMS. The customer’s email or phone is filled in; type another one to send elsewhere.
Your cards are out. Next: manage them in Passes and get to know your customers.