
3. Templates
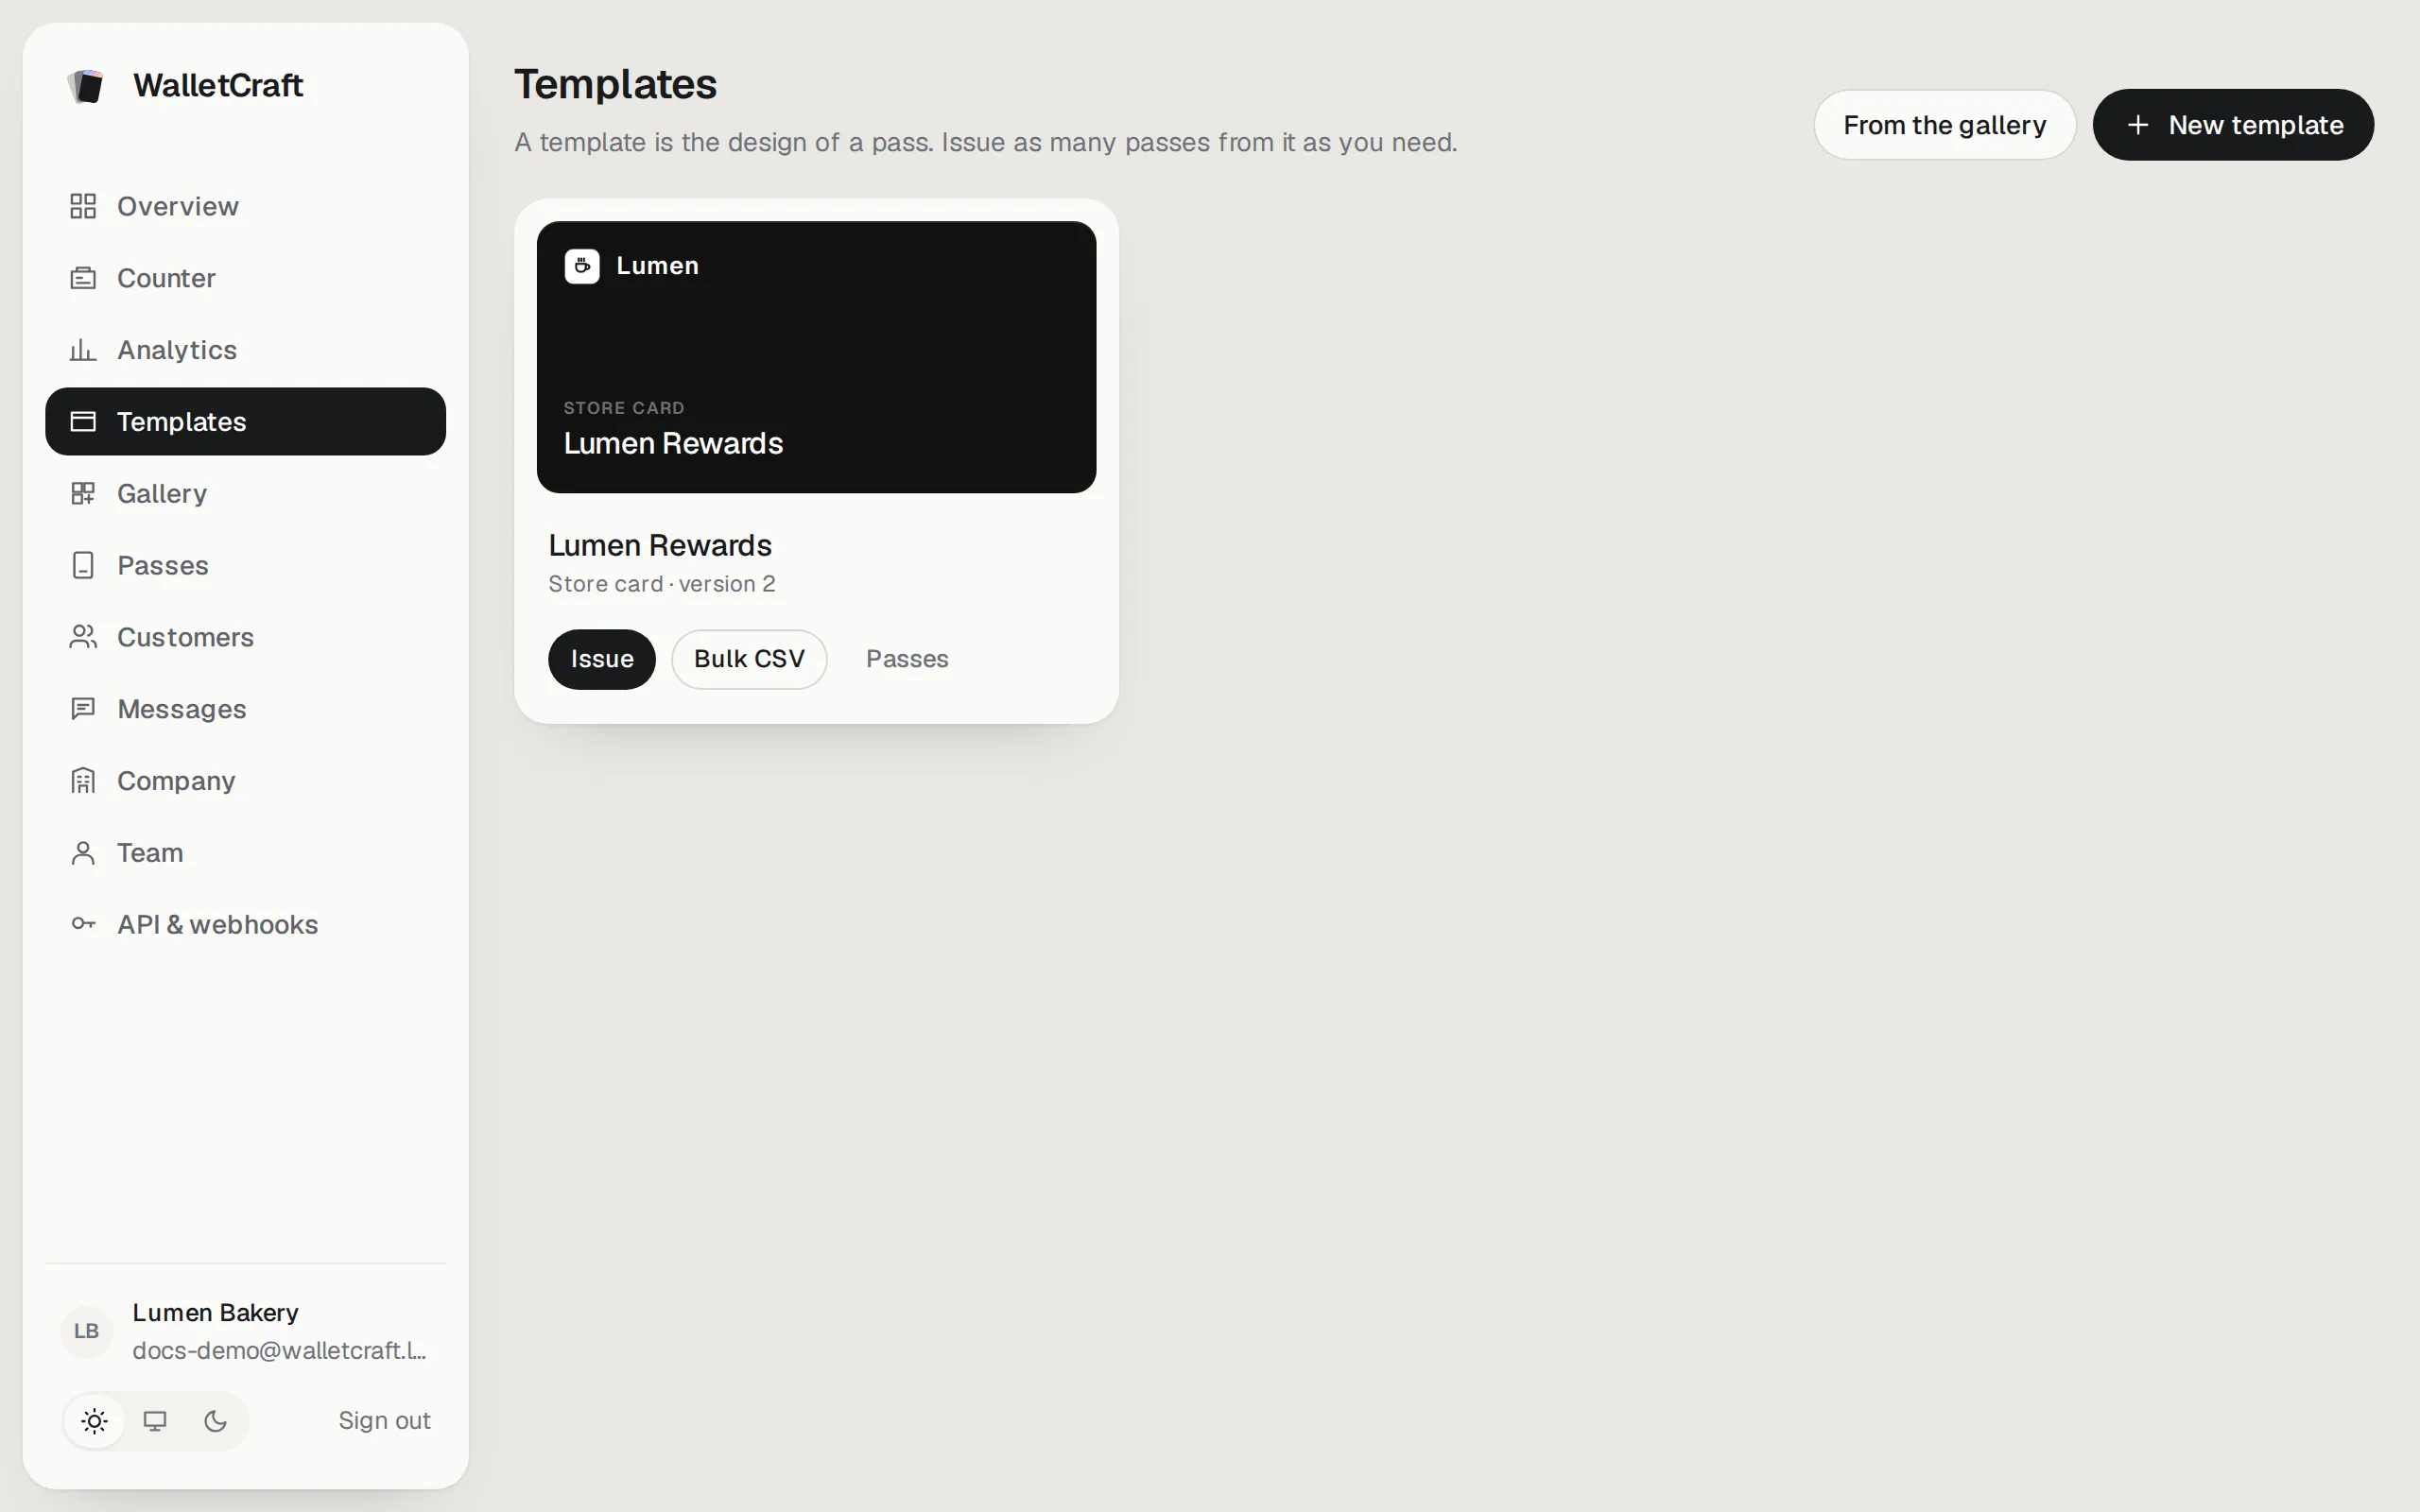
A template is the design of a card: how it looks and what it shows. Every customer’s card is made from a template, with their own values (name, points…). When you change a template and save it, every card already in your customers’ wallets updates — no need to issue them again.
Start from the gallery
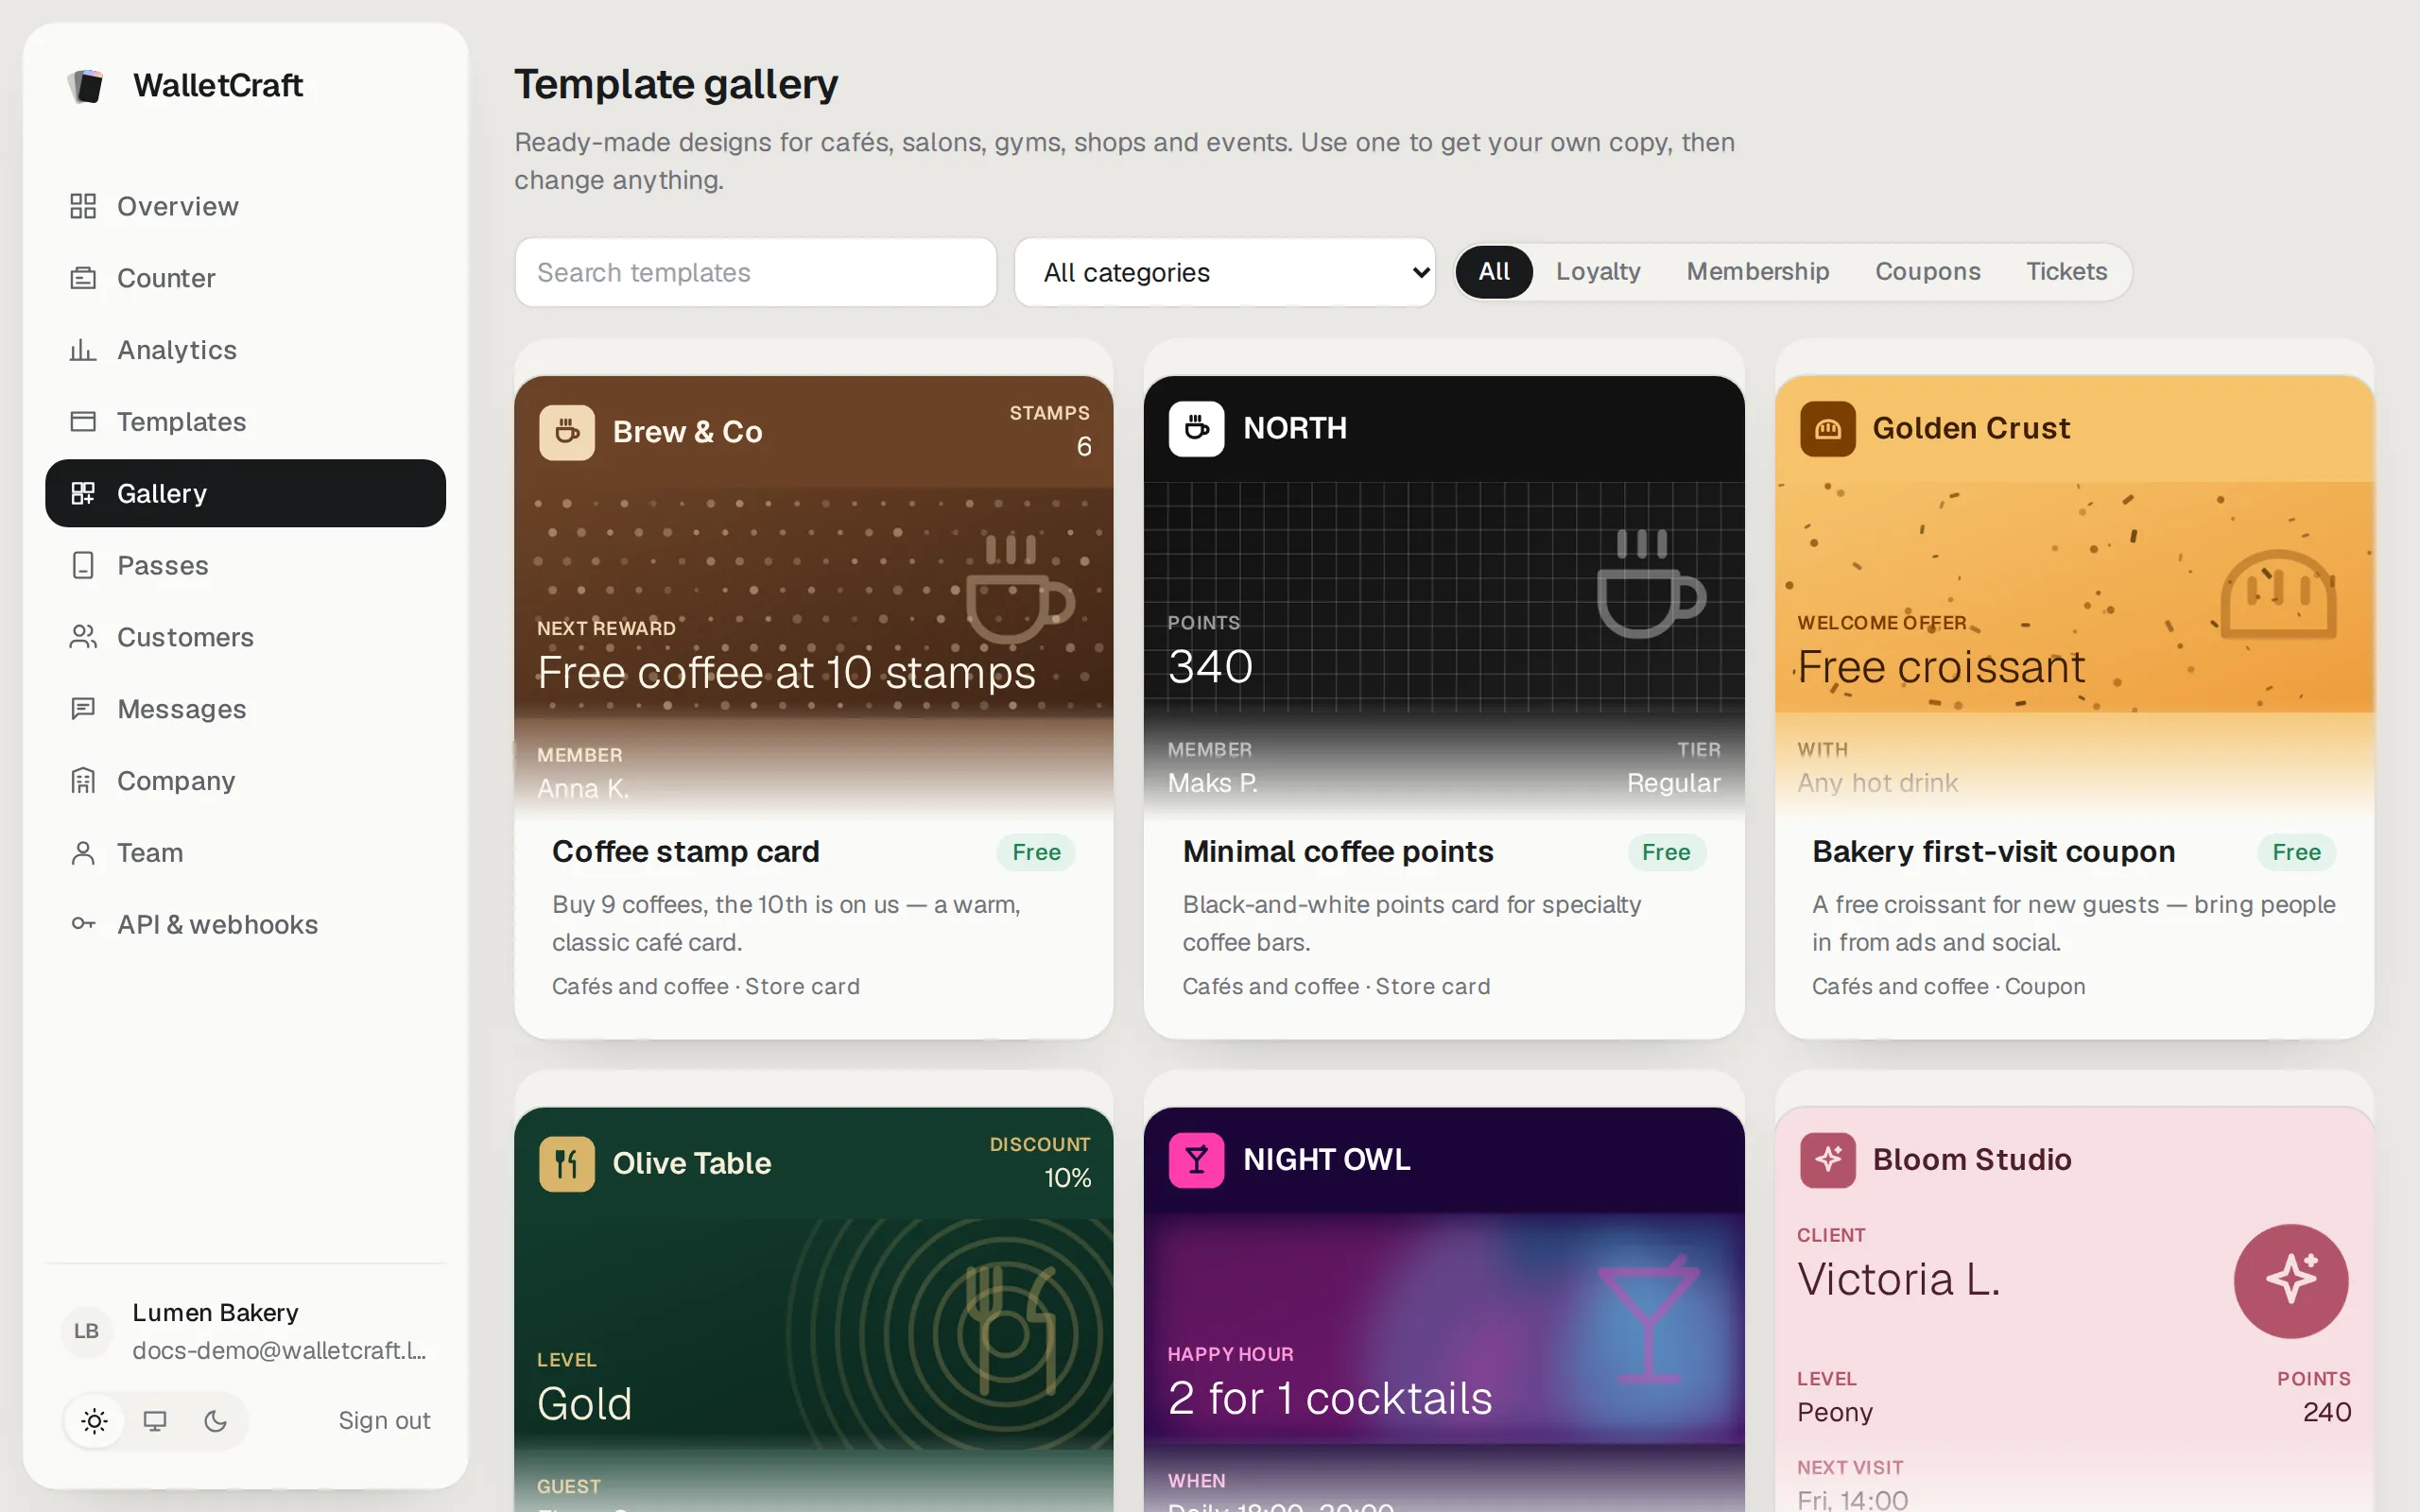
Section titled “Start from the gallery”The quickest start: pick a ready-made design and make it yours.
-
Open Gallery. Filter by category (cafés, beauty, fitness, retail…) or search.
-
Open a design to see it up close — Front and Details (the back) — and what it’s for.
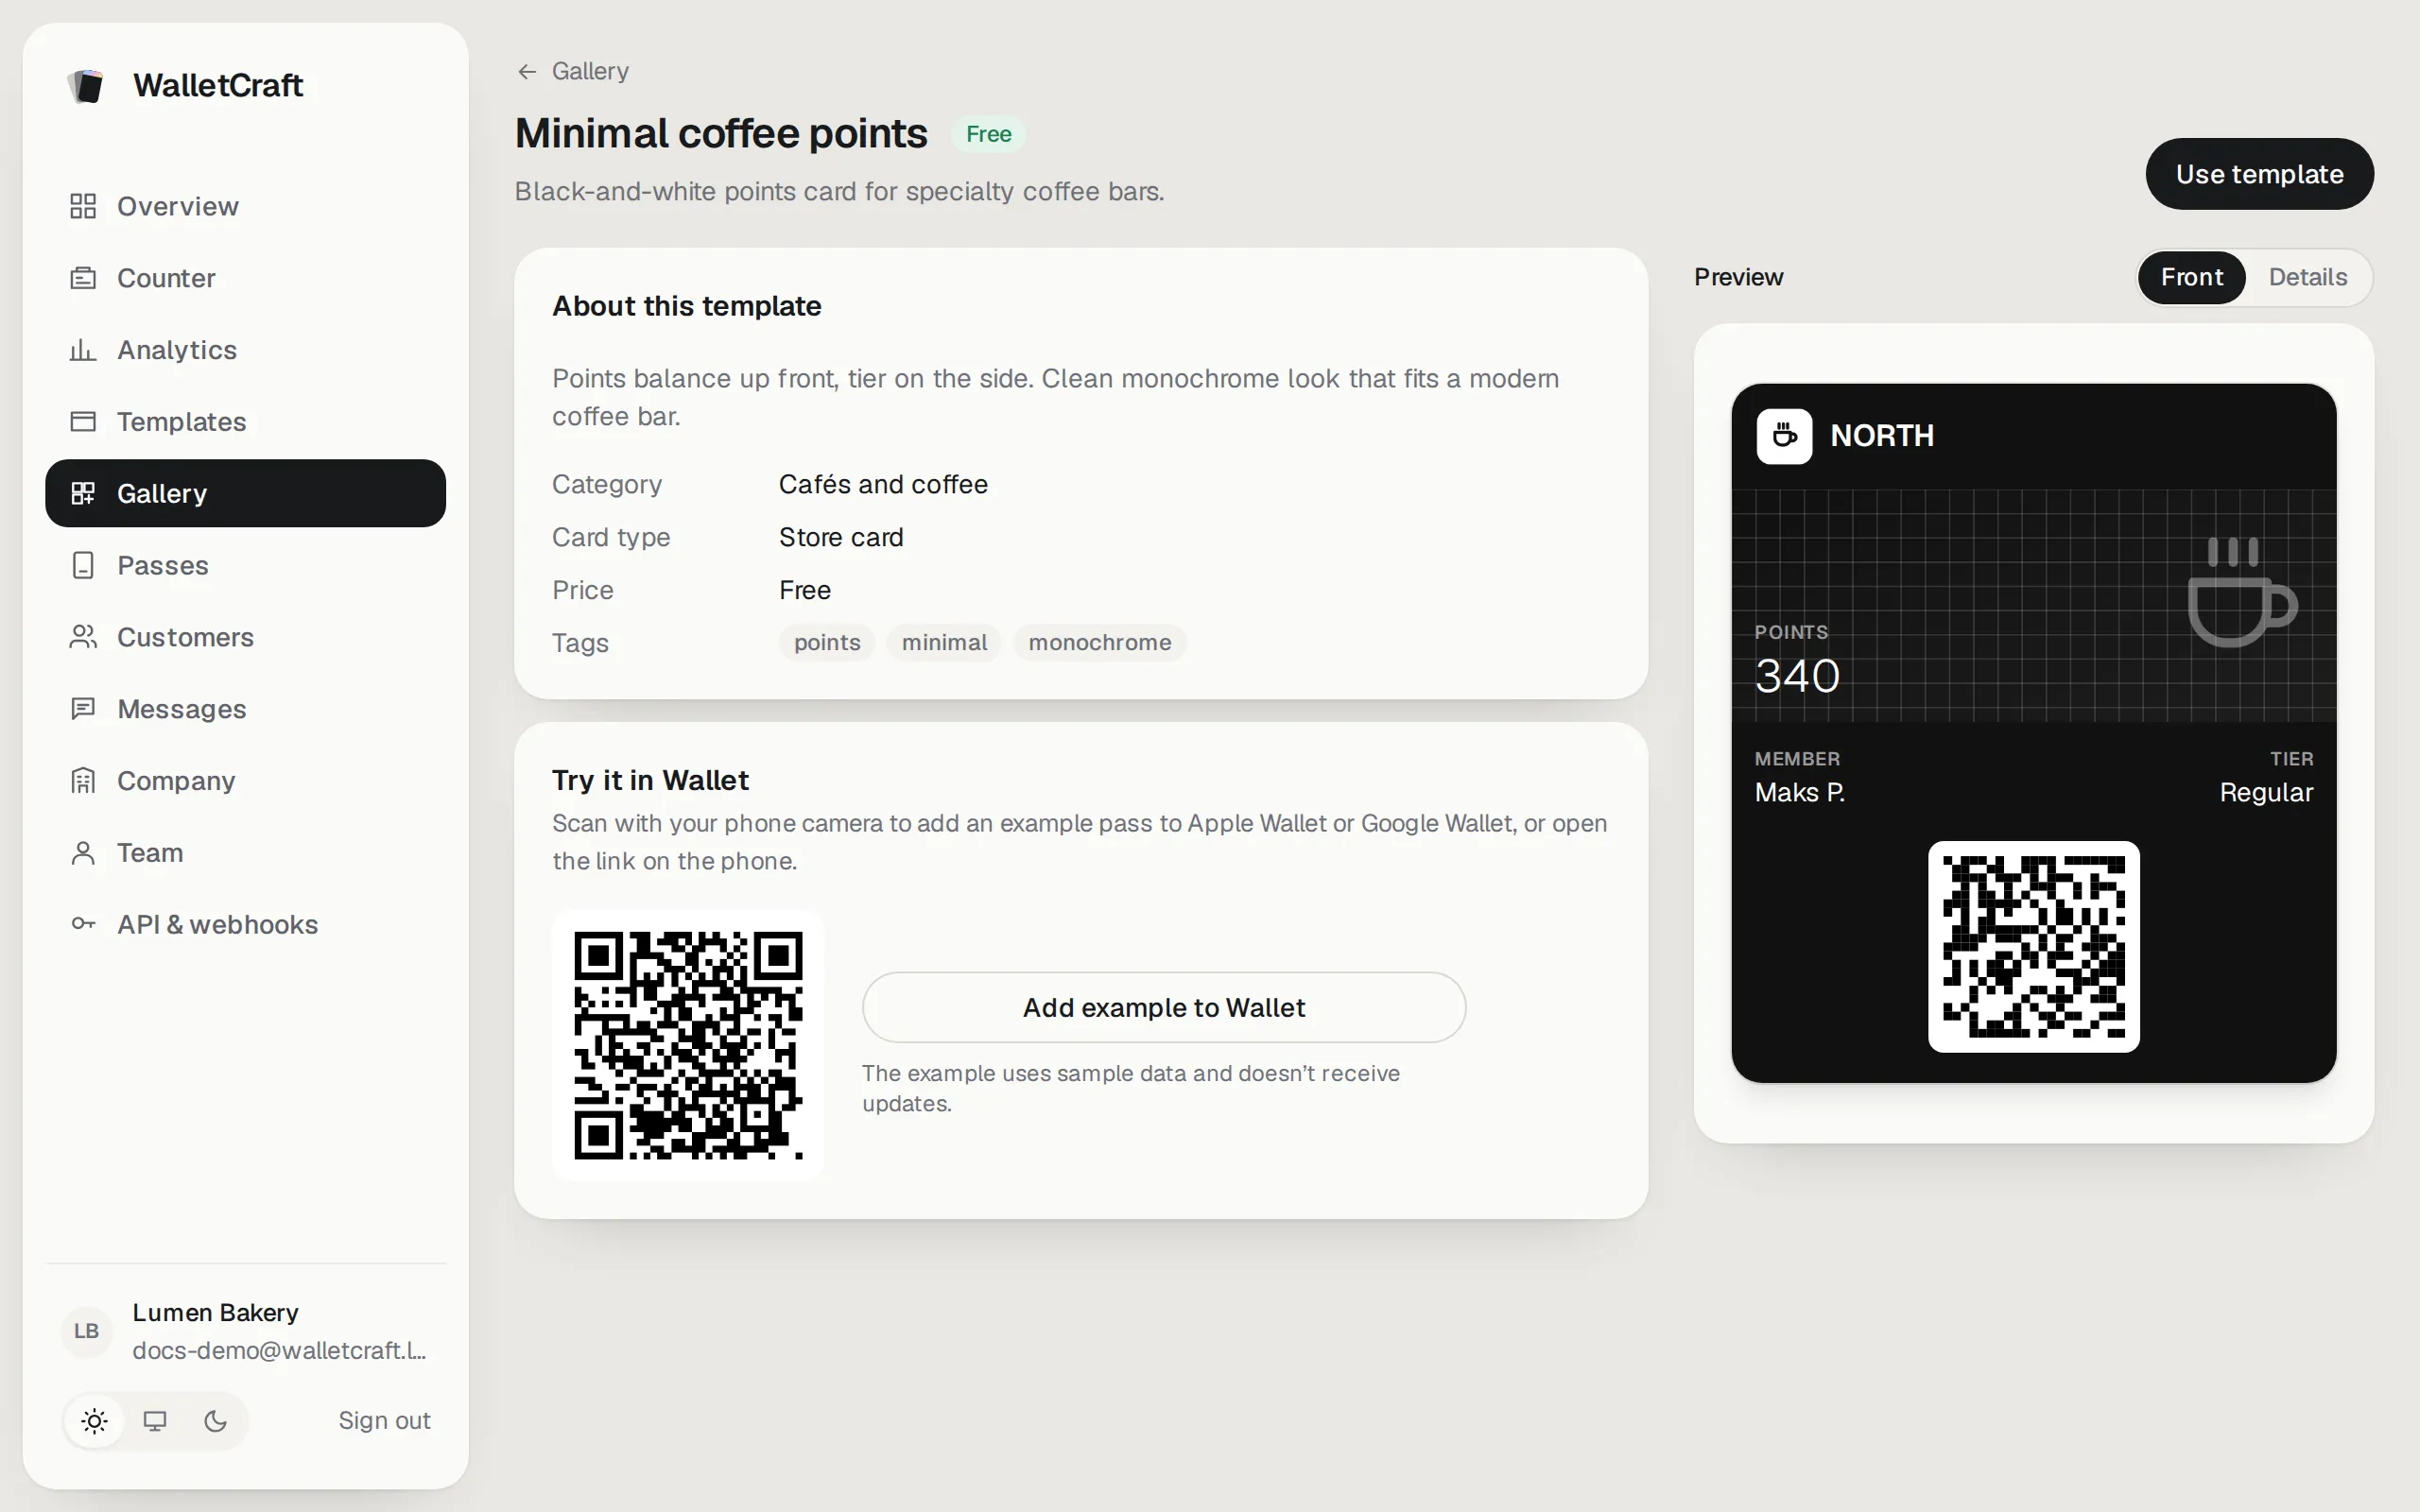
Try it in Wallet: scan the QR code with your phone to add an example card to your own Apple Wallet or Google Wallet and see it for real.
-
Press Use template, enter a Template name (only you see it) and your Organization name (shown on the card). The design is copied into your Templates, ready to adjust.
Or start from scratch
Section titled “Or start from scratch”In Templates press New template. You’ll see the same editor with an empty design.
The editor
Section titled “The editor”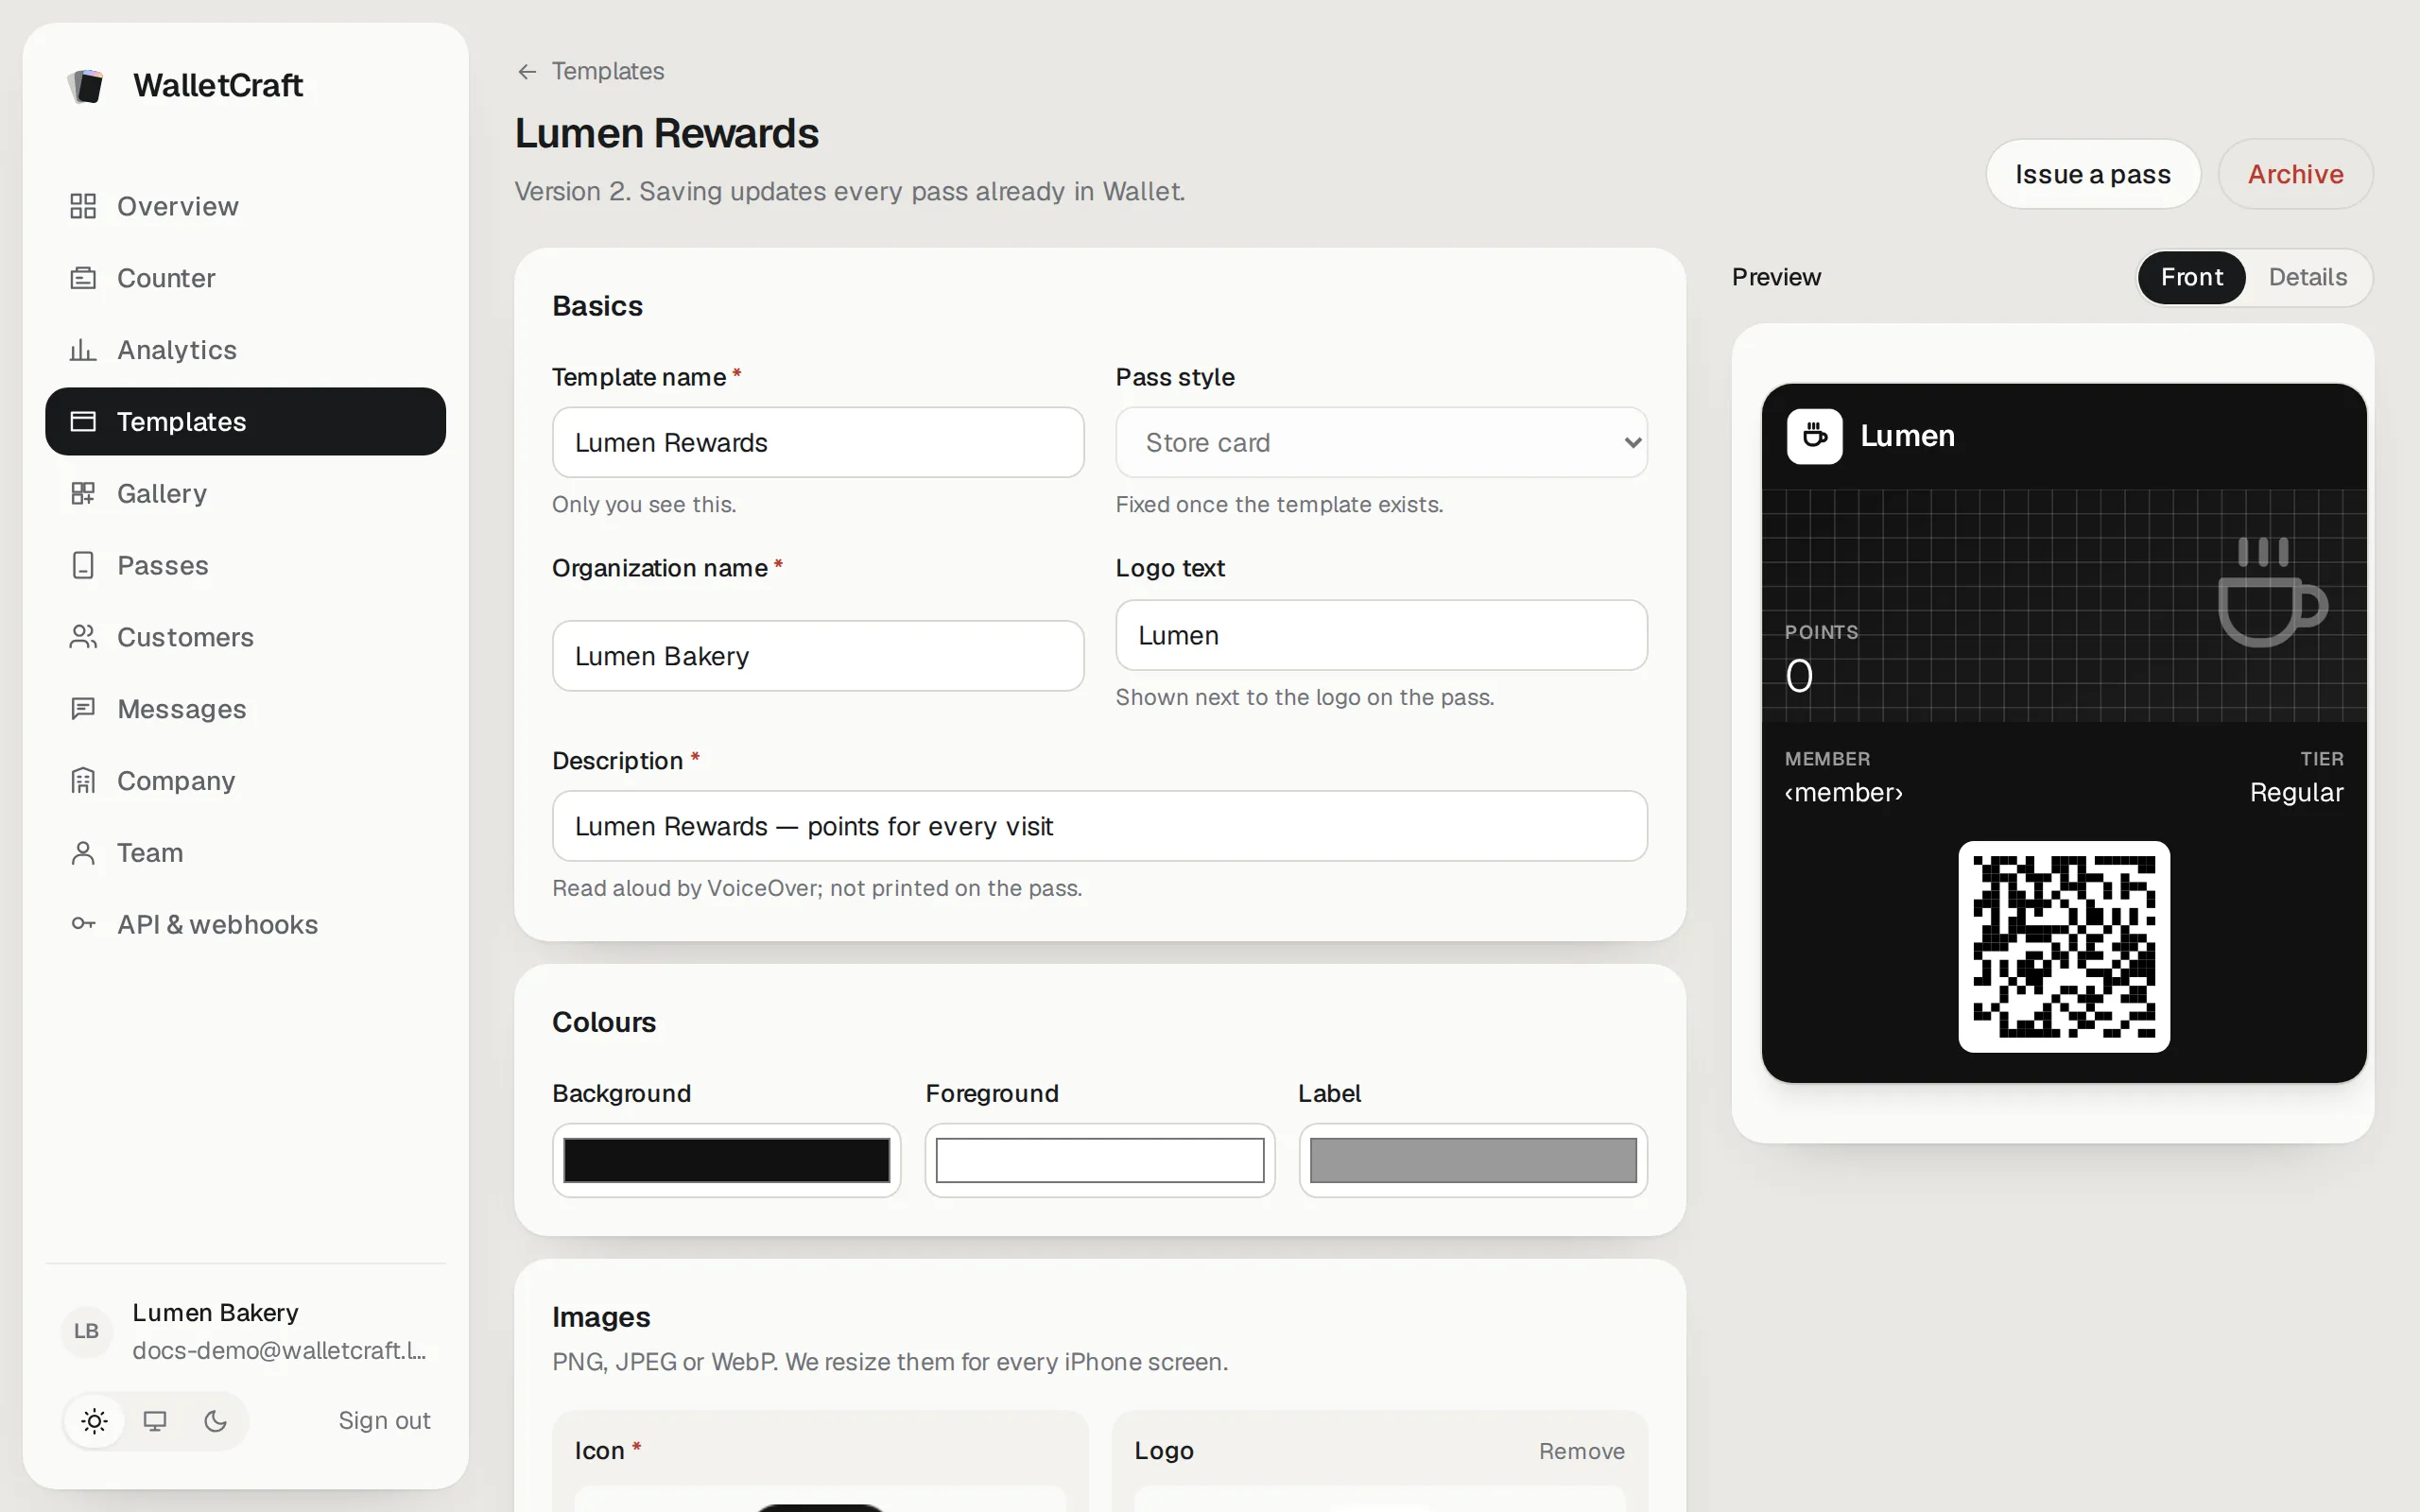
Settings are on the left; the Preview on the right changes as you type. Switch it between Front and Details (the back of the card). Nothing reaches your customers until you press Save changes.
Basics
Section titled “Basics”-
Template name — for you, in the console.
-
Pass style — the kind of card. It decides the layout in Wallet and can’t be changed later:
Style For Store card Loyalty and gift cards Coupon Offers and discounts Event ticket Concerts, games, venues Generic Membership, ID, anything else Loyalty programs (points, stamps, levels) need a Store card.
-
Organization name — your business, shown in Wallet.
-
Logo text — shown next to the logo on the card (leave empty if the logo already has your name).
-
Description — read aloud by VoiceOver for blind and partially sighted people; not printed on the card.
Colours
Section titled “Colours”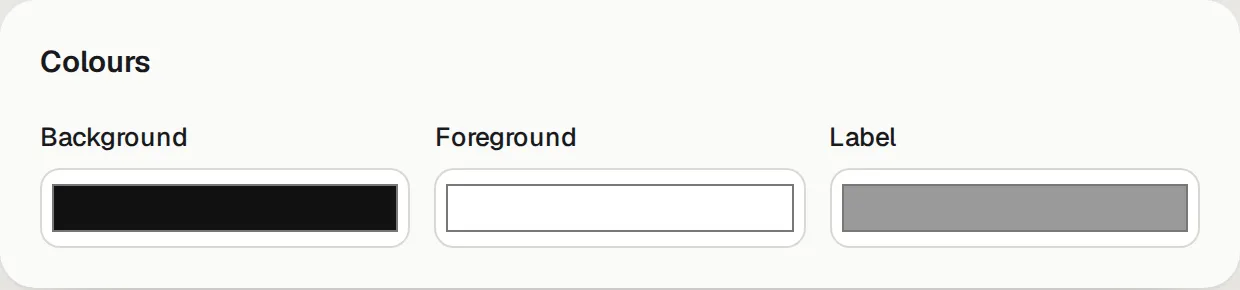
Background, Foreground (the values) and Label (the small captions above them). Keep enough contrast so the card is easy to read in sunlight.
Images
Section titled “Images”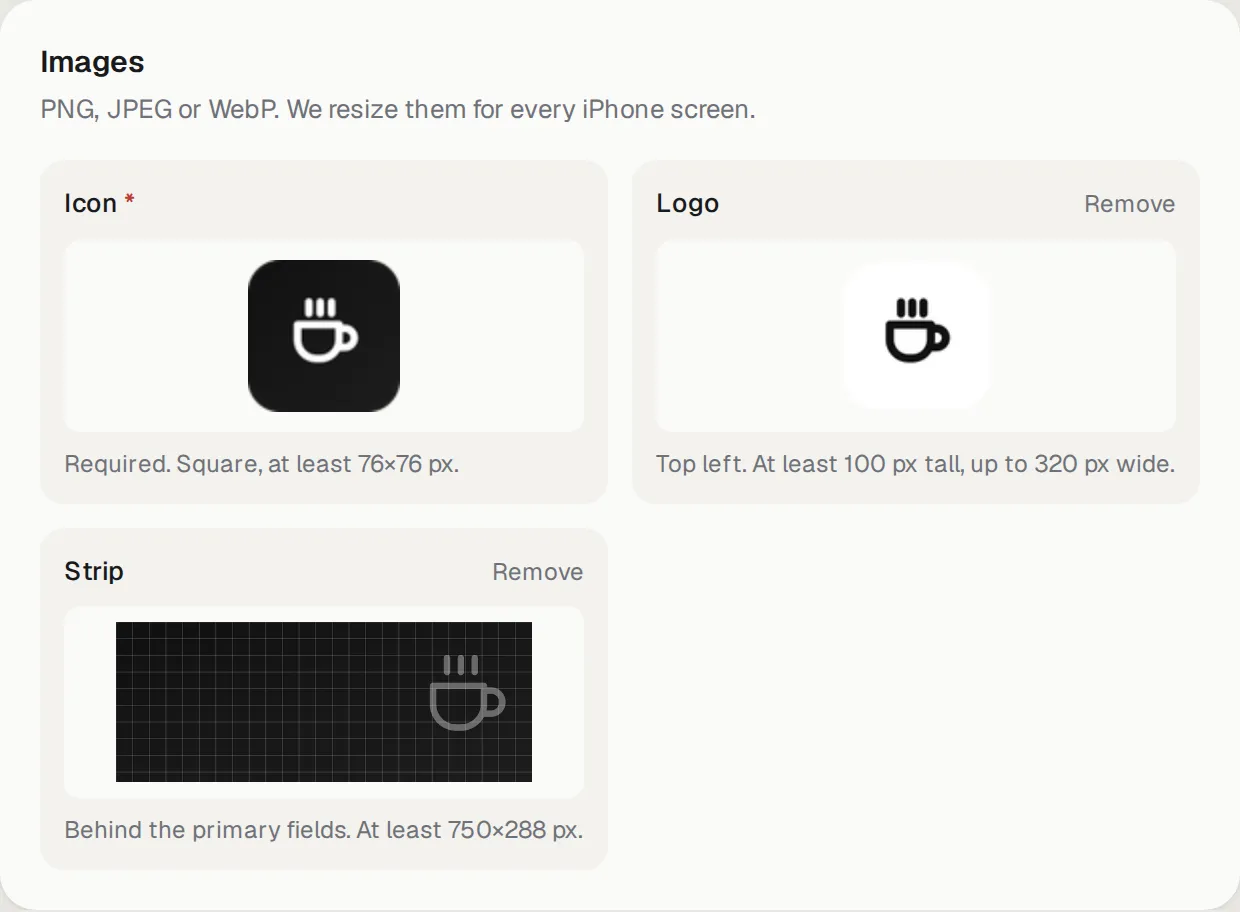
PNG, JPEG or WebP; WalletCraft resizes them for every iPhone screen.
- Icon (required) — a square image. iPhone shows it on the lock screen with notifications; Google Wallet uses it as the program logo.
- Logo — top left on the card. A wide image with a transparent background works best.
- Strip (store cards, coupons) — a wide picture behind the main value. Thumbnail (generic cards, tickets) — a small picture on the right. Background (tickets) — blurred behind the whole card.
Fields
Section titled “Fields”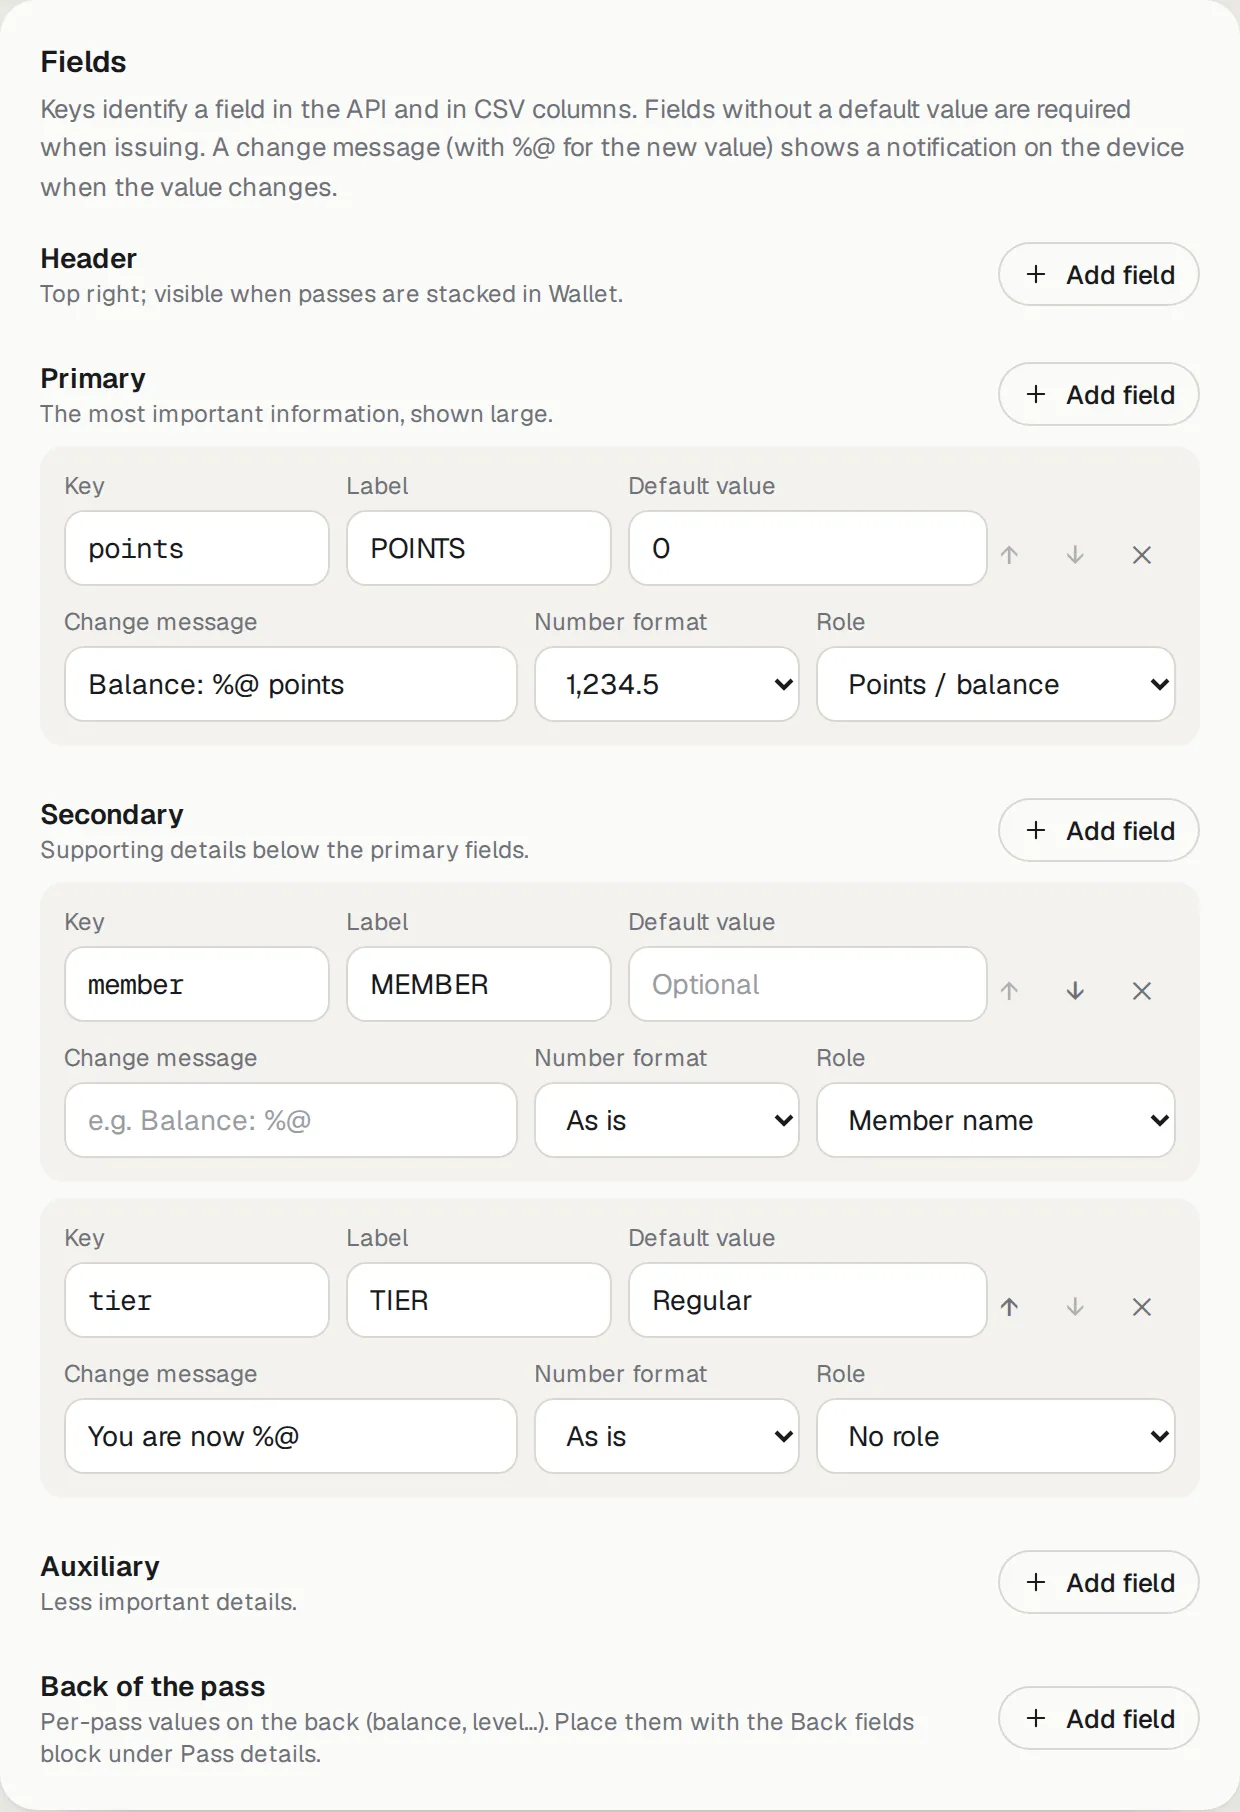
Fields are what the card says: points, the member’s name, a level, a date… They sit in places on the card:
- Header — top right; visible even when cards are stacked in Wallet. Good for points or a level.
- Primary — the main value, shown large.
- Secondary and Auxiliary — supporting details below it.
- Back of the pass — values shown on the back (see The back of the card).
For each field:
| Setting | What it means |
|---|---|
| Key | A short technical name (points, member). Used in CSV files and by developers. Letters, digits, _ and -. |
| Label | The caption on the card, e.g. POINTS. |
| Default value | Used when a card doesn’t get its own value. A field without a default must be filled in for every card. |
| Change message | The notification when the value changes, with %@ for the new value — e.g. Balance: %@ points. Leave empty for a silent change. |
| Number format | How numbers look: as is, 1,234.5, percent or money. |
| Role | What the field means, so Google Wallet shows it in its own place (points, member name, member number, level…). Loyalty programs need a field with the role Points / balance. |
The arrows change the order; ✕ removes a field.
The back of the card
Section titled “The back of the card”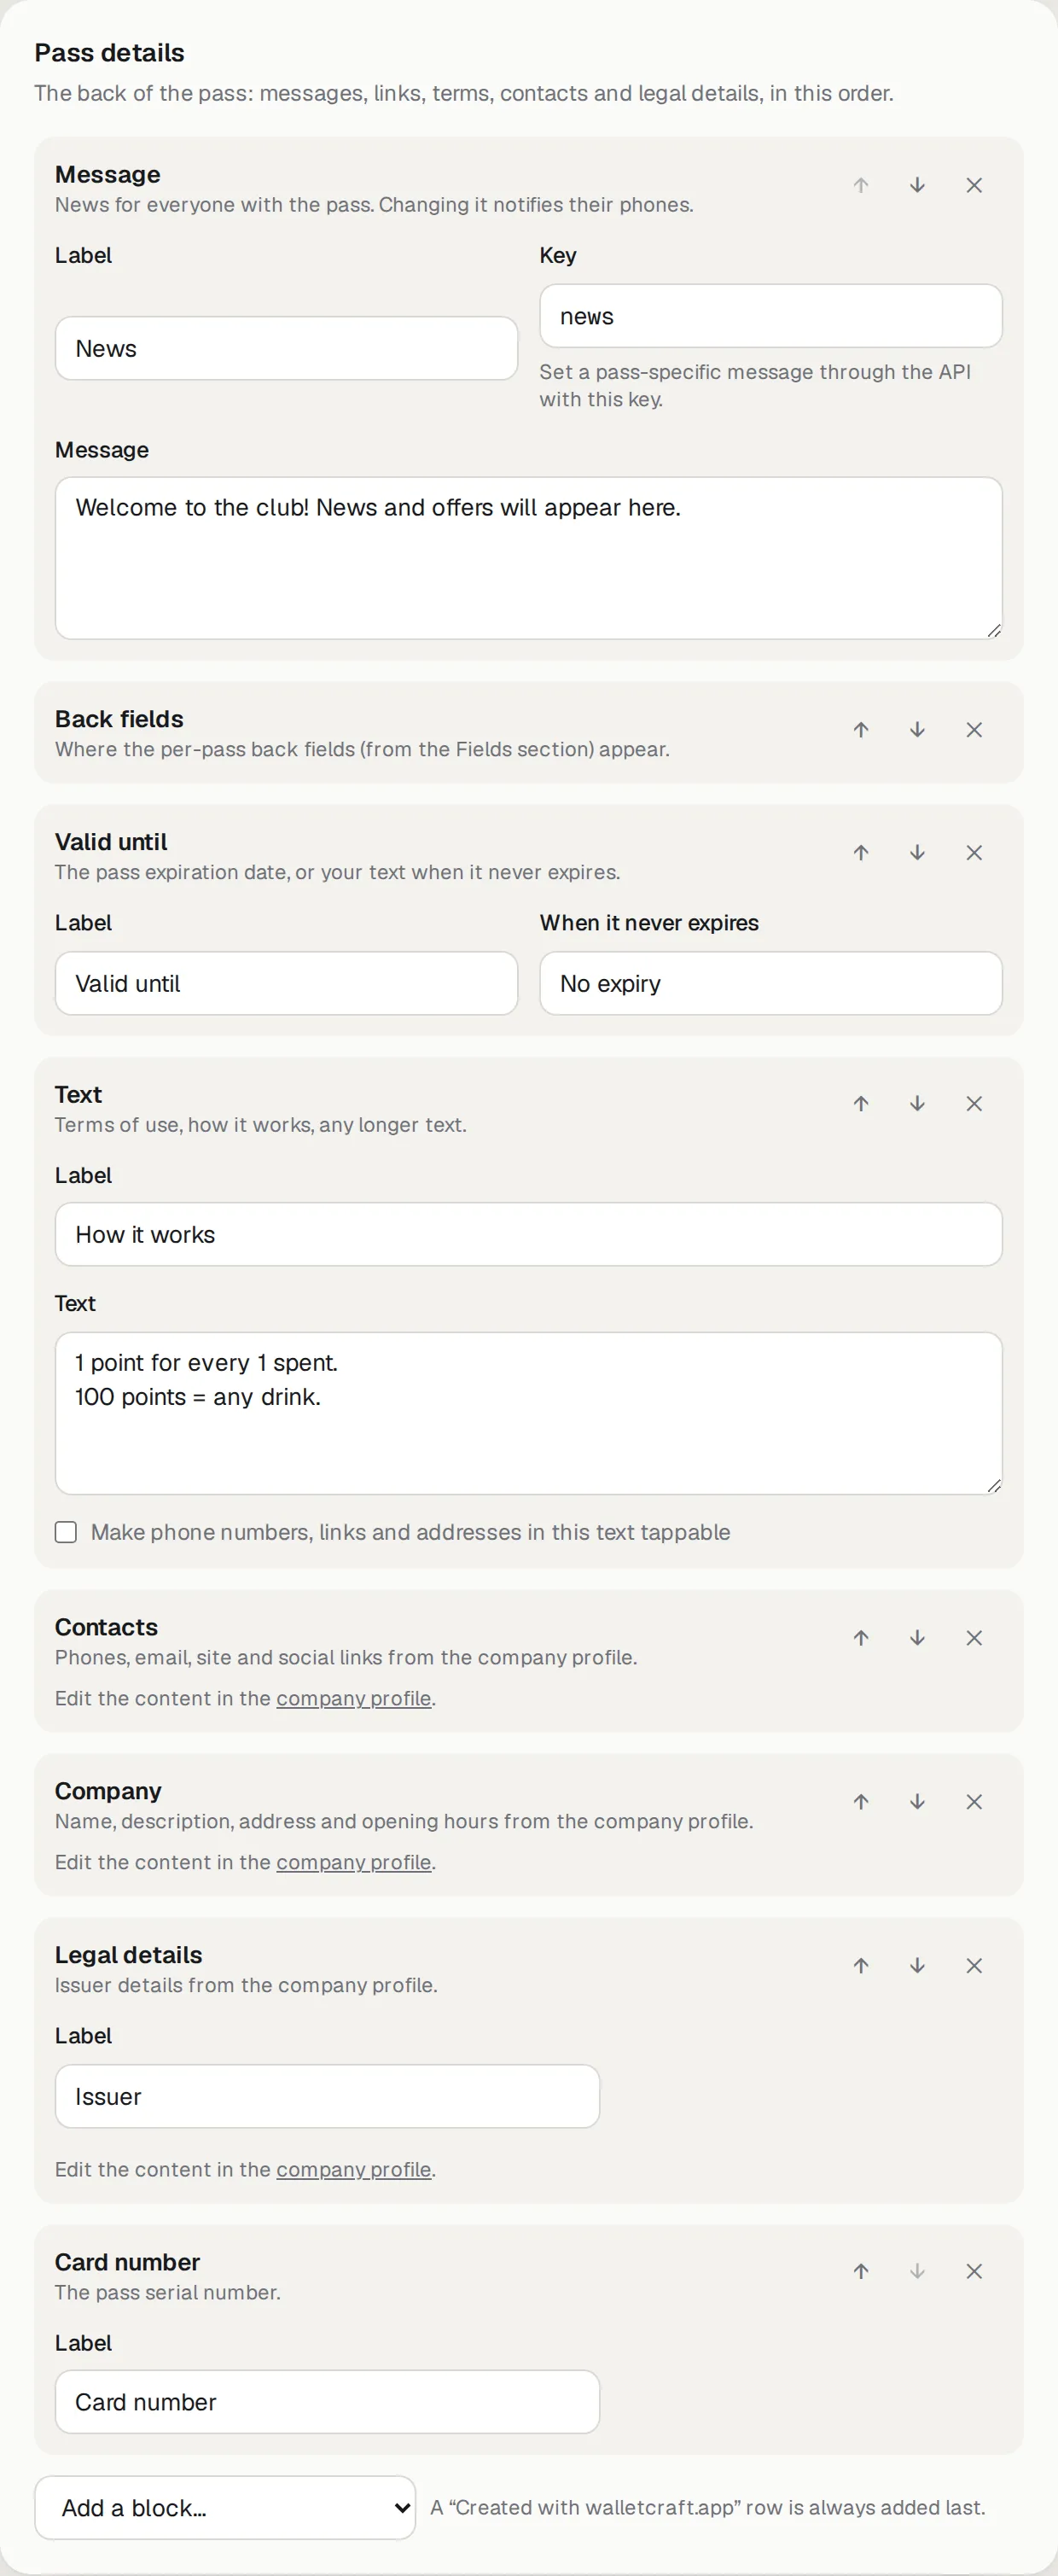
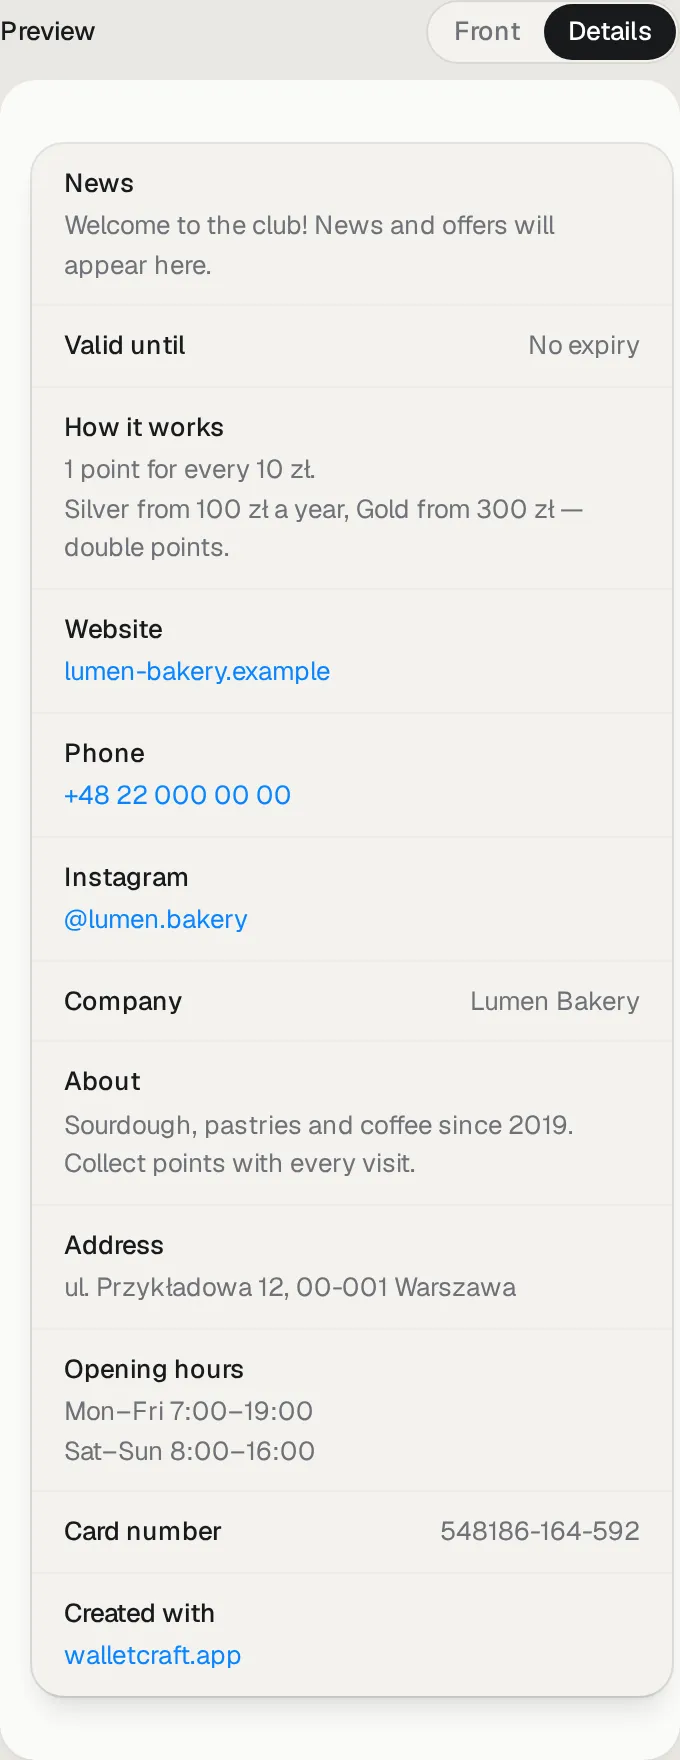
Pass details builds the back of the card (the Details side in Wallet) from blocks, in the order you set:
| Block | Shows |
|---|---|
| Message | News for everyone with the card. Changing it notifies their phones (see Messages). |
| Back fields | The per-card values from the Back of the pass field group. |
| Text | Any longer text: terms of use, how the program works. |
| Links | Your shop, booking, feedback form or any other link for this card. |
| Contacts | Phones, email, website and social links from the company profile. |
| Company | Name, description, address and opening hours from the company profile. |
| Legal details | Issuer details from the company profile. |
| Card number | The card’s serial number. |
| Valid until | The card’s expiry date, or your text when it never expires. |
Barcode
Section titled “Barcode”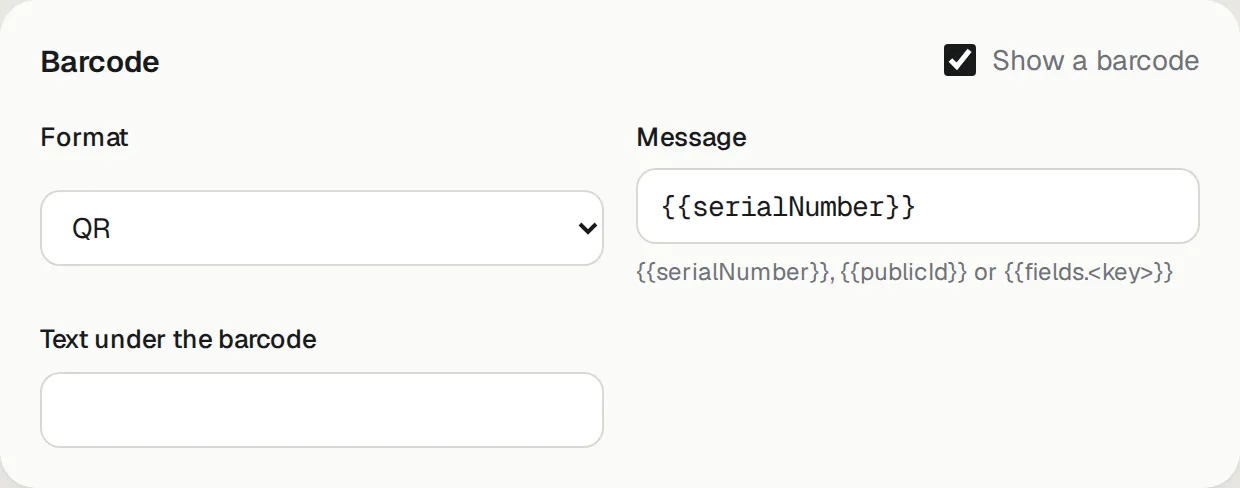
Switch on Show a barcode if your till scans cards. Choose the Format your scanner reads (QR, PDF417,
Aztec, Code 128…), the Message it contains — usually {{serialNumber}}, the card’s unique number — and an
optional Text under the barcode.
Press Save changes. The version number goes up, and every card already in your customers’ wallets is updated within about a minute. Archive retires a template: no new cards can be issued from it, but cards already issued keep working.